An NFC tag contains a QR code. When you scan a tag with your mobile, a service template linked to the tag is automatically approved. You can have several tags on an object, each tag is then connected to different parts of the object and service points.
ATTENTION – IMPORTANT INFORMATION
Adding NFC tags only works with Android, not with iPhone.
However, reading tags works well with the iPhone. If it feels tough, try taking your iPhone out of its case.
1. ENABLE NFC
This step requires admin permission.
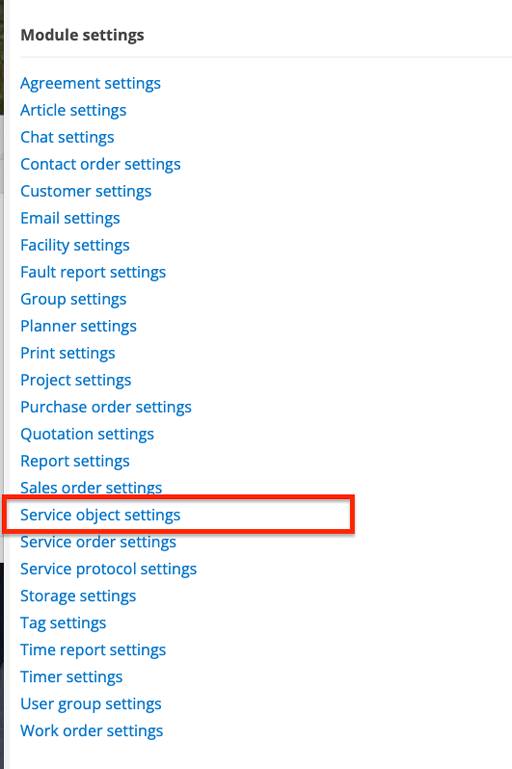
- Go to Group Settings.
- Under Module settings select Service object settings.
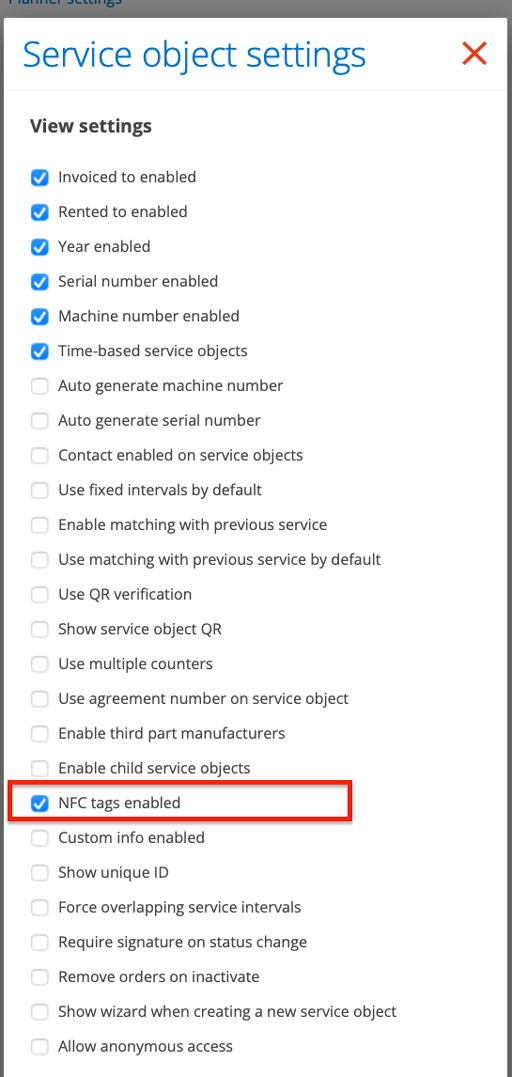
- Under View Settings, click Enable NFC tag support.
- Save
2. ACTIVATE NFC ON THE SERVICE OBJECT
- Select the service object to which the tag should be connected. Click Change at the bottom of the page.
- Scroll down to Service intervals and service points.
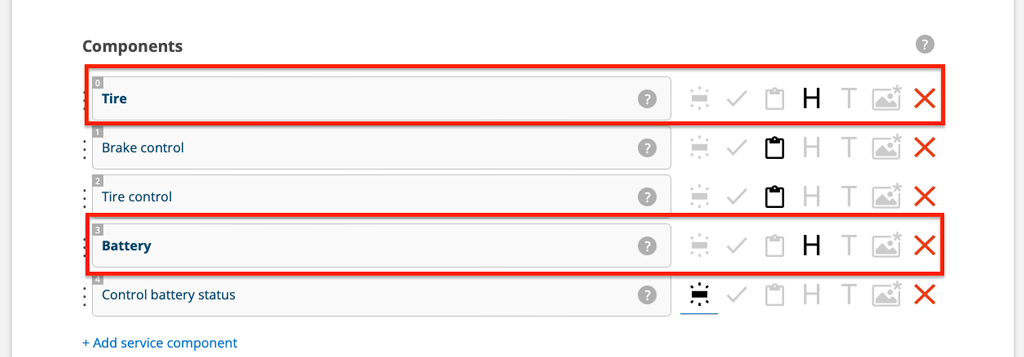
- Add a new service point that should be a header (H). Give the header a description. See image 3, where 3 headings have been added.
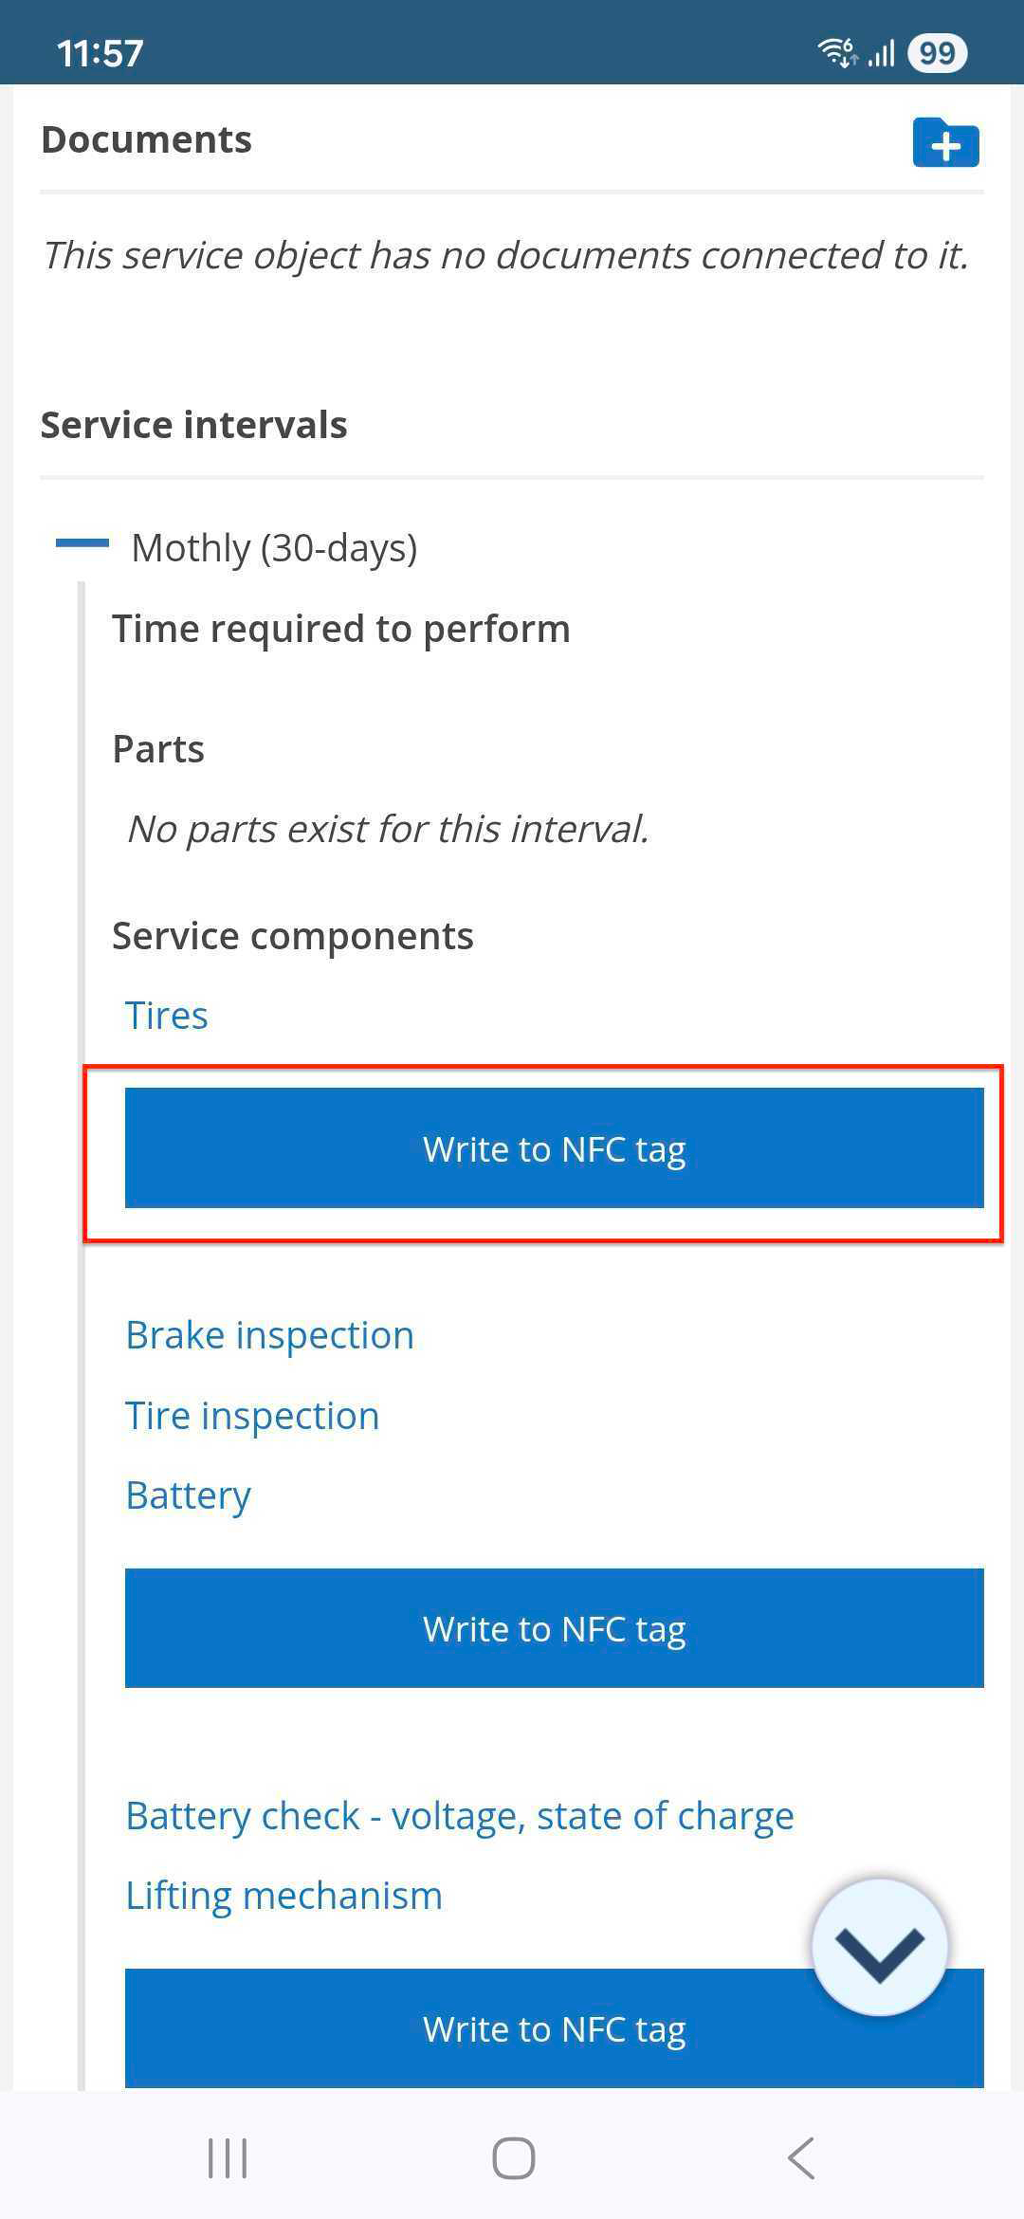
- The heading (H) should be above the service points that the tag should perform. In the example in image 4, Tires, Battery and Lifting mechanism are headers and linked to each tag with their specific service points.
If the heading is wrong, you “drag” it to the right. However, this can only be done on a computer, not on a mobile device. - Save
- Scroll down to Service intervals and service points. *
- Click Write to NFC tag. At the same time, hold the tag against the mobile phone.
- Approve connection with the mobile (only needs to be done the first time).
If several tags are to be connected to the service object, repeat from point 3 to connect the next tag.
*TIP! The fastest way to scroll to the bottom is to press this symbol:

3. CHECKING THE TAG
- Then test by holding the tag against the mobile. This is to ensure that the correct connection has been made.
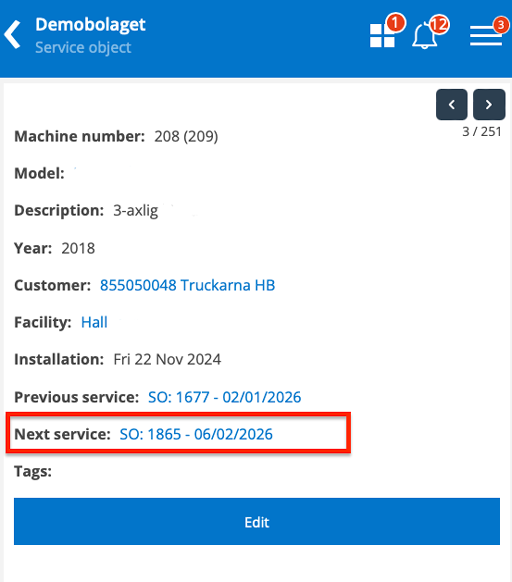
- When the tag is held against the mobile, the current service object is displayed directly in Service Protocol.
- Should service be performed: click on the date after Next service.
4. PERFORM SERVICE
On the order press Perform Service and scan the tag. The system then ticks off all points connected to that tag.
If you have several tags on your service object, you read the next tag and the system ticks off the service points connected to each individual tag.
