If you often need to enter the same or similar information when adding new service objects, you can create a custom info template for this and, if suitable, set default values.
Do this:
- Go to Service> Custom info template.
- Click the + sign to create a new template.
- Give the template a name.
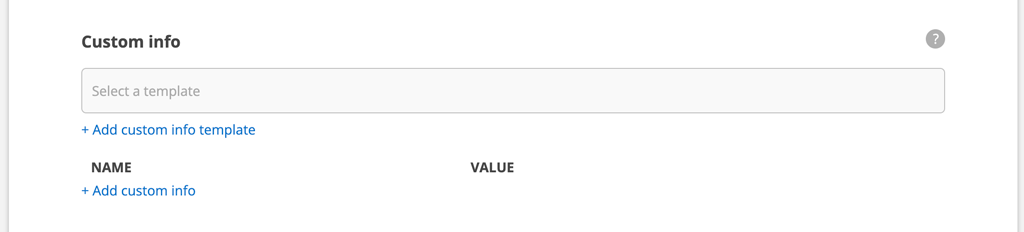
- Click + Add custom info.
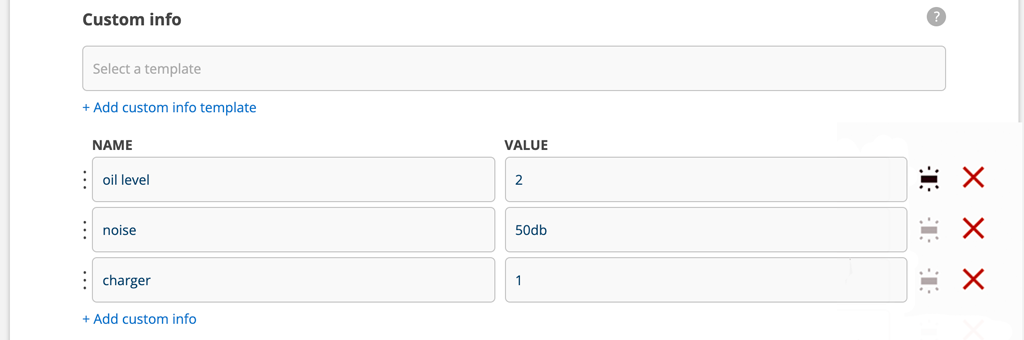
- Choose whether the information should be displayed on the protocols or not. Click on the symbol on the far right so that it turns black to choose to display the information. (See image 1)
When you then add a custom info template to a service object, you can select which parts of the information to display on the protocols.
You can add and remove service components on the service object without affecting the template itself.
Links are allowed in the field VALUE.
Making changes to a template does not affect service objects where you have already added the template. Such changes need to be made for each service object.
When you add a service object in Service > Service object and realize that it would be a good idea to have a Custom info template for the object, you can create it directly by clicking + Add custom info template. A new tab opens. Name, fill in and save the new template. Then go back to the service object and select the newly created custom info template. Just place the cursor in the field Templates to select the template.