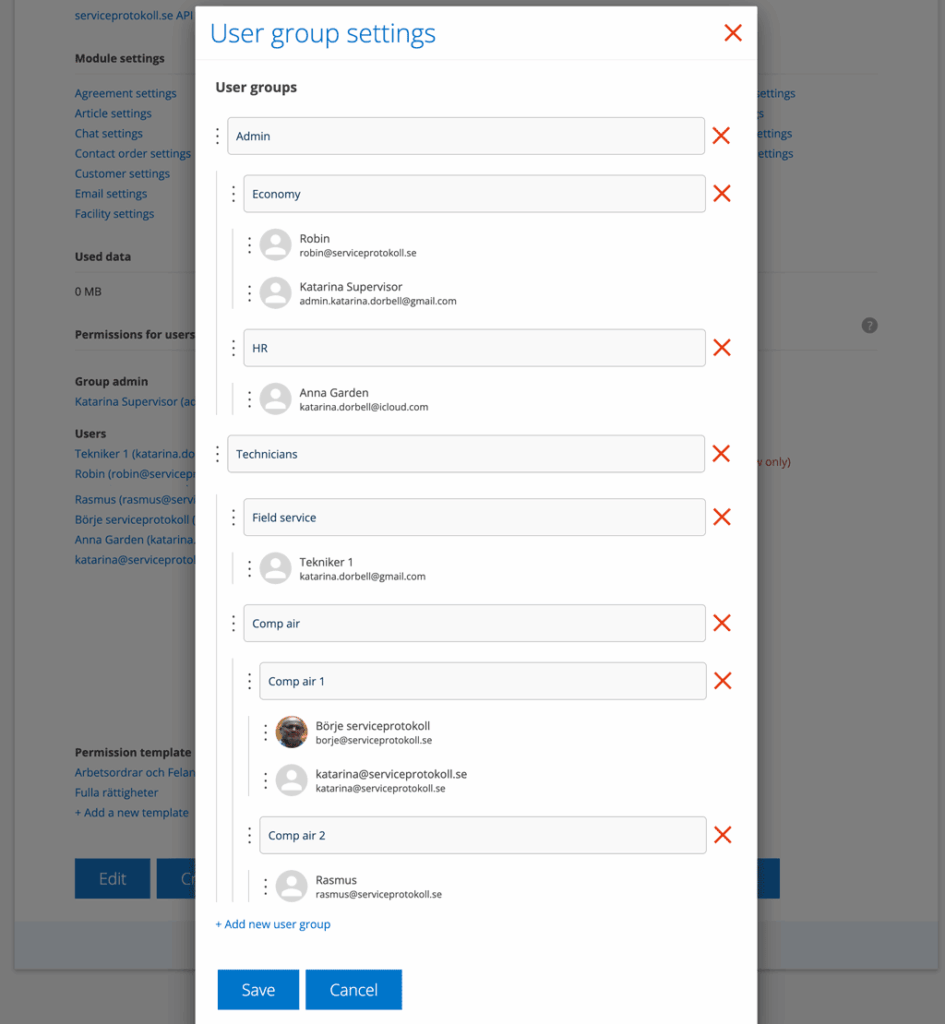
In Module Settings – User Group Settings, all active users in your group are listed and here you can sort the employees into groups or just change the order in which they are located.
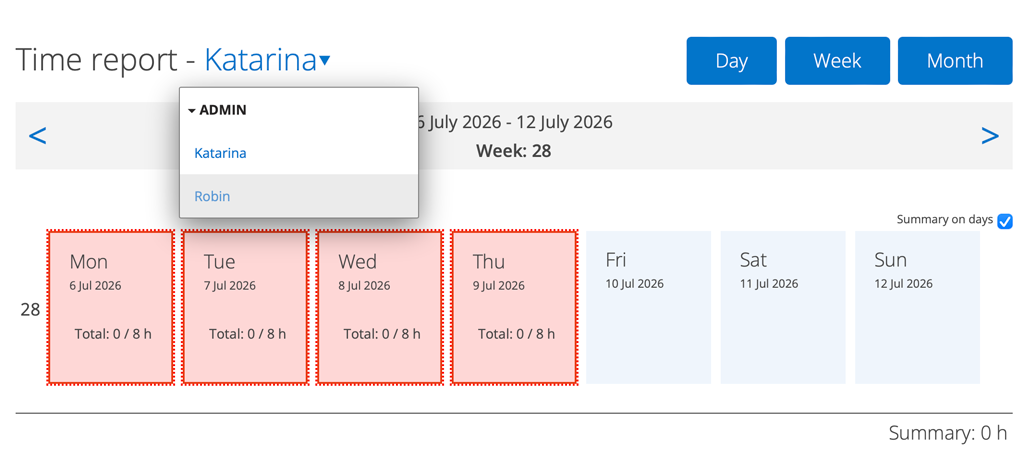
Sorting here controls the order in which the resources are located in the Planner and in Time report (if you have permission to see more users than yourself). You can book an order for an entire user group in the planner.
If you want to create new groups, do this:
- Click on + Add user group
- Enter a name of the group
- Add members to the group by hovering over the “dots” and dragging the user to the group name.
By dragging the dots you can also sort the groups and create subgroups of users. You can move entire groups by dragging the dots in front of the group name.
This is how this sorting looks in the planner:
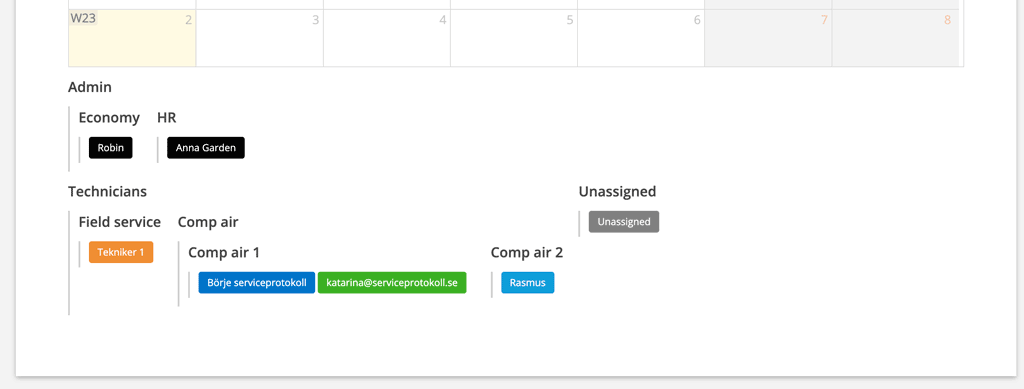
In the Planner, you can make bookings for the entire user group in the same way as when booking for an individual user.
User groups in the Time Report
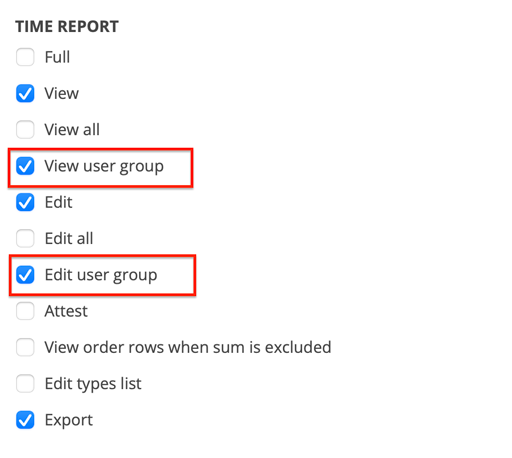
By giving a user the “View user group” and/or “Edit user group” user rights for TIME REPORT, you give a user the ability to see time reports for everyone in the user group they are part of.
Example: The company has two user groups (admin and technician) but this user should only see and change time reports for the Admin group, which is the group they are part of.