Admin permission is required for steps 1 and 2 and to enter certificates on users.
Step 1 – Add certificate types
Go to Group Settings – Module Settings – Group Settings.
- Scroll down to Certificate Types
- Click + Add
- Submit a name
- Save
- The system creates an icon with the first letter of the certificate name and a background color.
- If you want to upload a symbol for the certificate, click on Add image under the respective certificate. This will then be displayed in all places where the certificate symbol is visible.
Step 2 – Add certificate to user
- Go to Group settings.
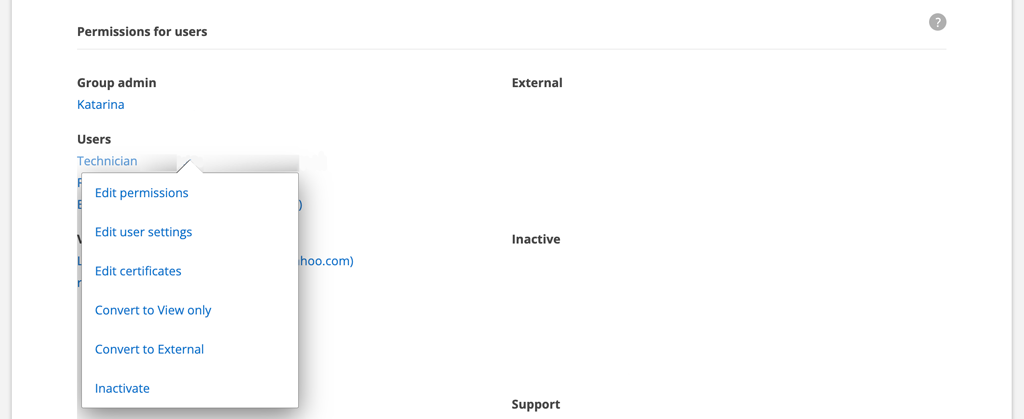
- Click on a user for which you want to enter certificates.
- Choose Edit certificate. (image 1)
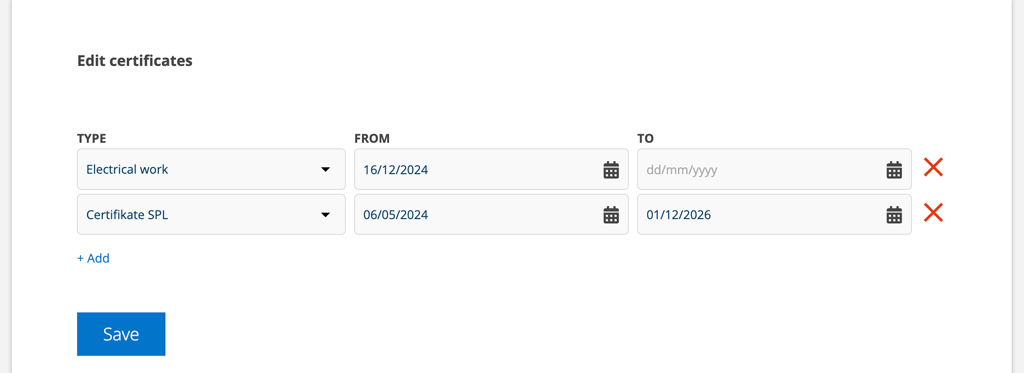
- Choose from the entered certificates and enter the validity period. (image 2)
Step 3 – Specify which certificate is required for a job
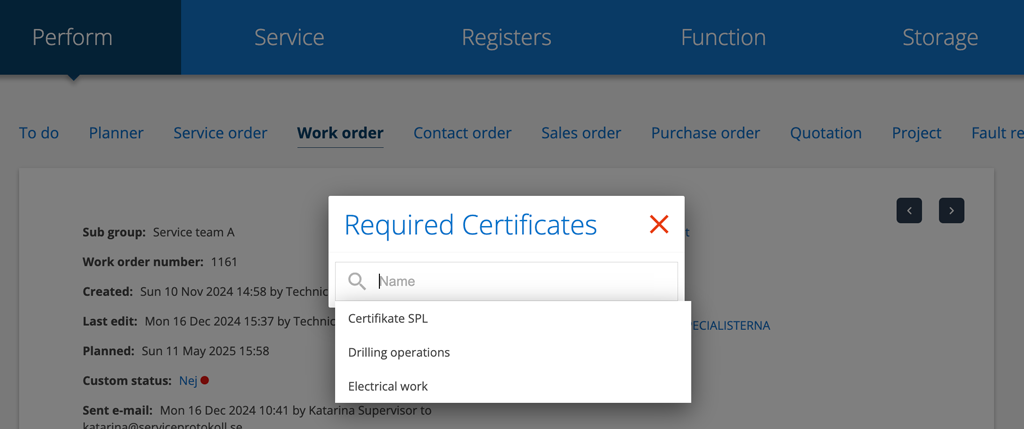
On work and service orders there is now a new field, Required certificates, where you add the certificate that is required for the work. NOTE! The field appears when you have created and saved an order, not during creation of an order..
- Click Edit after Required Certificates:
- Select certificate in the list
- Save the setting and shot the list by clicking on the red cross.
If you are not sure what the symbol for the certificate stands for – click on the symbol and the name will be displayed.
Now you have limited performing the order to technicians with the correct certificate.
How do I see which orders have certificate requirements?
The symbol is displayed in the list of orders (only in the detail view).
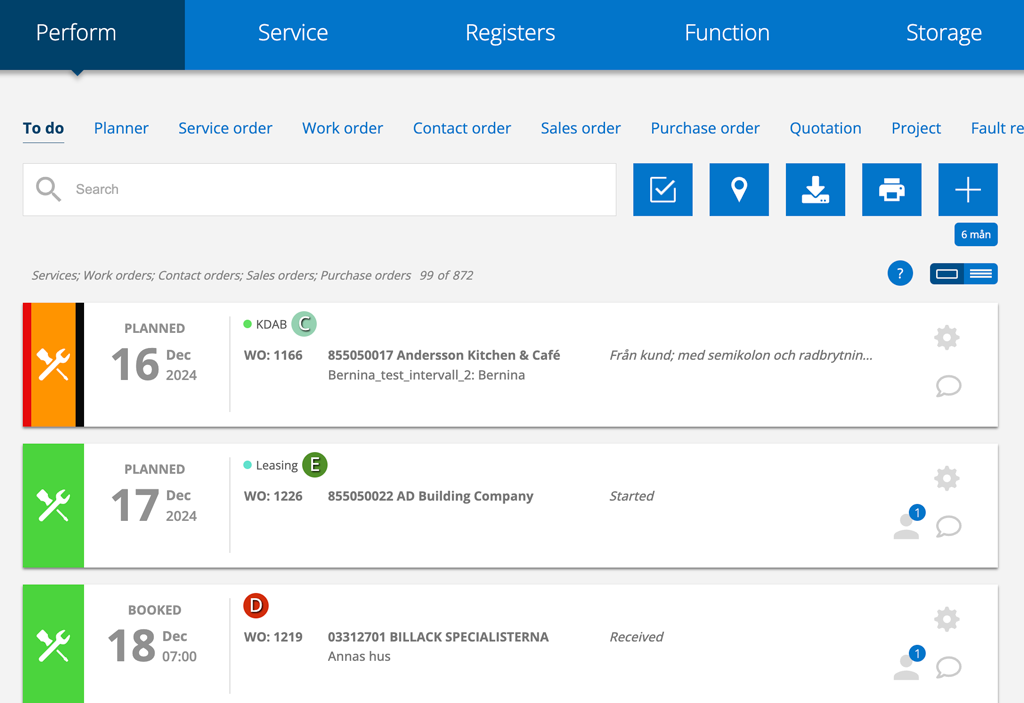
As a technician, I see in the list which orders I may or may not carry out. If I click on an order that requires an certificate I lack, I cannot execute it.
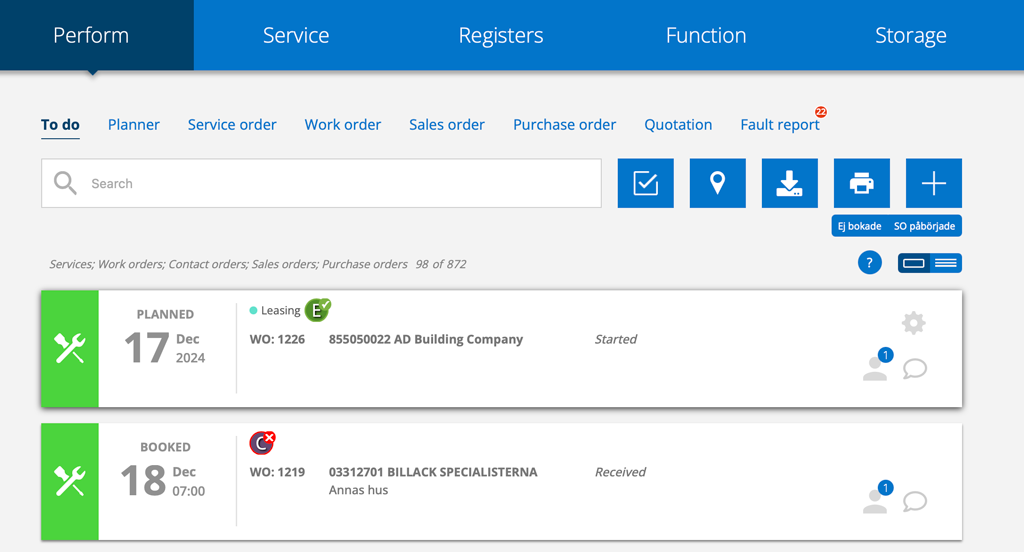
Search orders by certificate requirements

Click on the filter symbol and you can filter orders with your different certificates.

What certificates do I have?
Click on your username to get to your Account Settings, where your certificates are listed. To enter new or change your certificates, admin permissions are required.

