
QR verification can be used on service orders to verify that a user has been on site at the service object. Using a scanner built into the system, the user scans the QR code that has been placed on the service object and information about time, name of the person who scanned, and location is saved.

The dot on the QR symbol on the service order will then change colour from red to green to show that the verification has been completed.

Get started
Step 1 and 2 requires admin permission.
Step 1: Activate the feature
Go to Group Settings – Service object settings and select Use QR Verification and Show service object QR.
Step 2: Set permissions to those who will use the feature.
Go to Group Settings. Click on the user who should have the permission and select Edit permissions. Find QR VERIFICATION.
- To be able to activate QR verification on a service object, the permission – Activation is required.
- To view the saved information, Perform is required.
- To scan the code, no special permission are required beyond the permissions to execute a service order.
Step 3: Activate on service object.
Click Edit on the service object. Under QR Verification, click activate. Save the change.
If you want to remove the activation, do the same thing but click Inactivate instead.

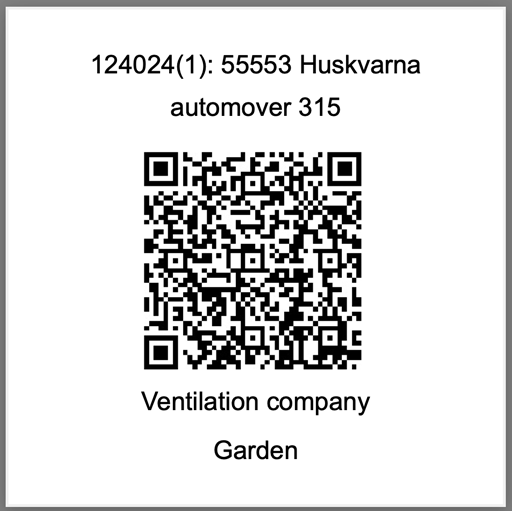
Step 4: Print a label with the QR code
Click on the printer symbol on the service object and print a label. If you have created your own template for printing, it is available to choose from in addition to the standard template.
Attach the label to the service object.
Read about printing QR labels here.

When performing service
Step 1: Perform
Click Perform on the service order.
Step 2: Scan the QR code
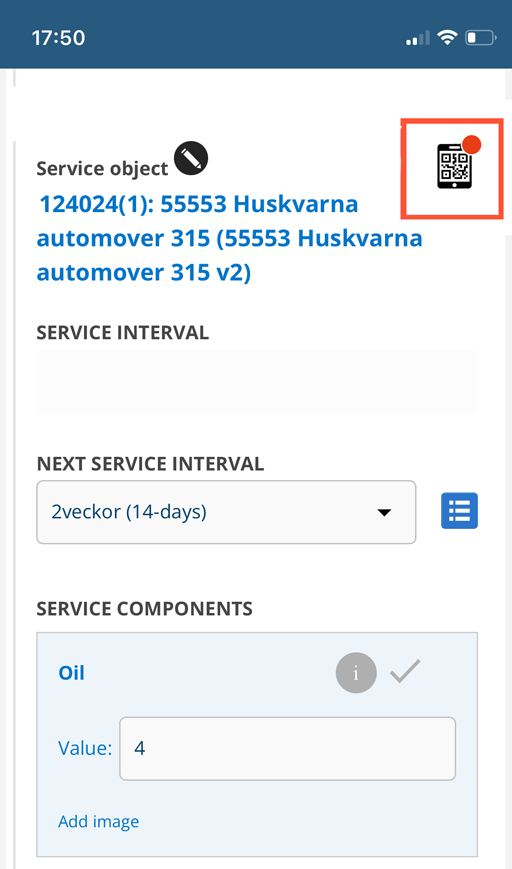
Click on the mobile symbol with the red dot next to the service object information on the order.
You will then be asked to allow access to the camera on your device. Answer Yes.
The first few times you will also be asked if you allow the system to access your location. If you have answered Yes to that question a couple of times, it will no longer appear.
If you answer No, information about your location will not be saved.
A scanner window will open. Use it to scan the QR code on the service object.
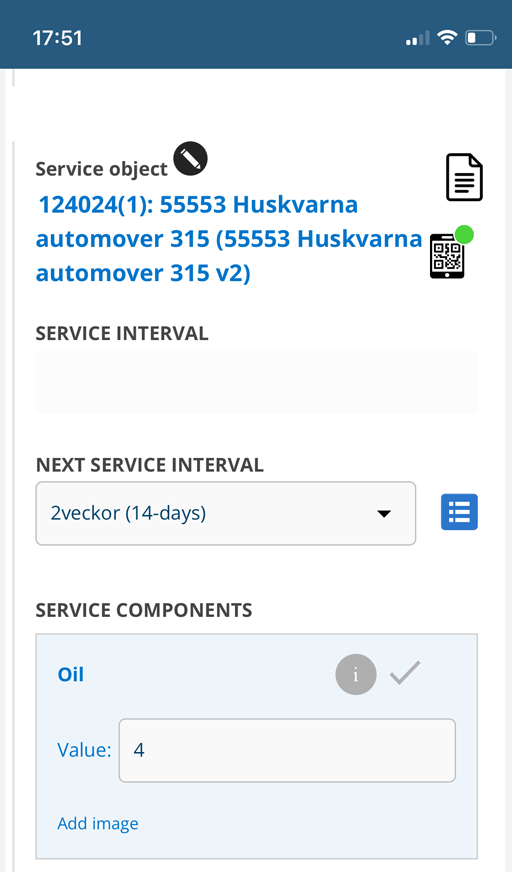
The dot by the mobile symbol will now turn green.
If for some reason you need to cancel and want to remove the validation, click on the symbol again and you can then remove it. The dot will turn red again.
Step 3
Complete the service as usual.
How to find the saved information
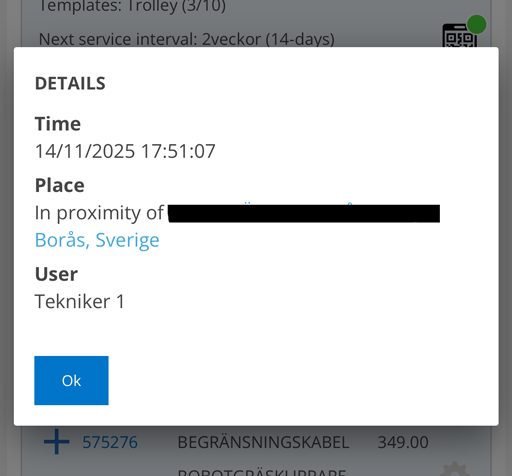
The protocol now contains information about when, where and by whom the QR code was scanned.
Click on the mobile symbol on the service protocol and a popup will open with the saved information. To view the information, you need to have the QR Verification – Perform permission.