
Without integration with an accounting system, the Generate invoice button will appear when an order is set as Ready for invoicing.
If you then send the document to someone responsible for invoicing, you can speed this up by activating the Email integration. With this integration, you can automatically send an invoice document (pdf).
The document can be sent to one or more email addresses. Separate the email addresses with a semicolon and no spaces between the addresses and ;.
Step 1:
Set up Email Integration.
Requires admin permission.
Do this:
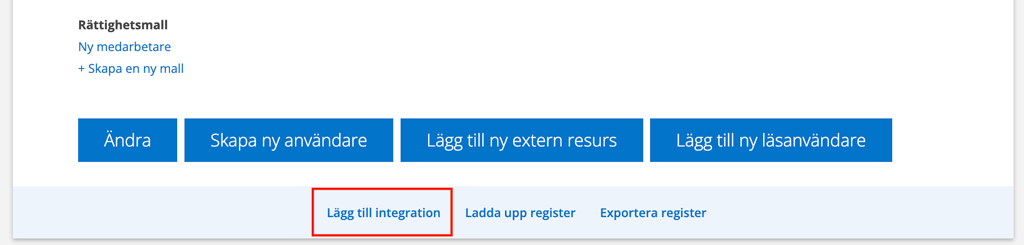
- Go to Group settings
- Scroll to the bottom of the page.
- Click Add integration.
- Choose Email in the drop down list
- Fill in the email address where invoices should be sent.
- Save

Should comments be included in the documentation?
With the work order setting and service protocol setting “Include comments in printout”, external (i.e. those set to be displayed for logged-in customers and printouts) comments will be included on the document.
Step 2:
On the order
When an order is complete, click Ready for invoicing and answer Yes in the popup that opens. An email will be sent to the specified email address with the invoice document attached as a PDF. Images are attached to the email but not pdfs uploaded to the order.
Alternative:
If you answer No, click Send order.
You can also choose to send via Email / SMS – Send invoice. If you have PDF and images on the order, choose which files should be sent in the email. This requires a little more work than the automatic function, but you can control which attached files are sent with the invoice document.
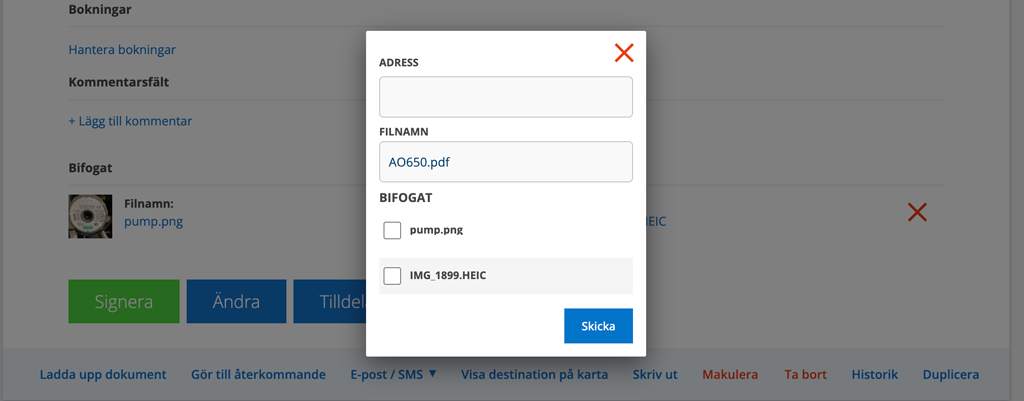
Conditions: In Email Settings, select “Include uploaded files when sending”.