
In order for worked time and travel time to be transferred to the time report, certain settings need to be made in user settings and on the article record.
Admin permission is required.
Step 1 – set user permissions
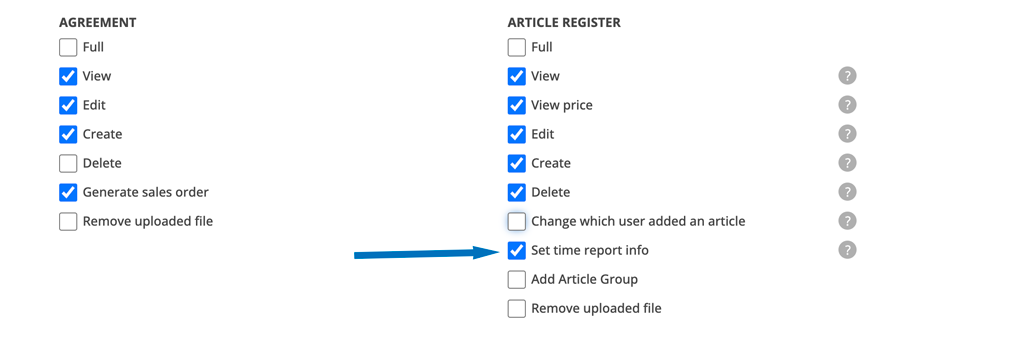
To be able to set an article as time article you need a user permission set under Article register – Set time report info.
Step 2 – on the article post
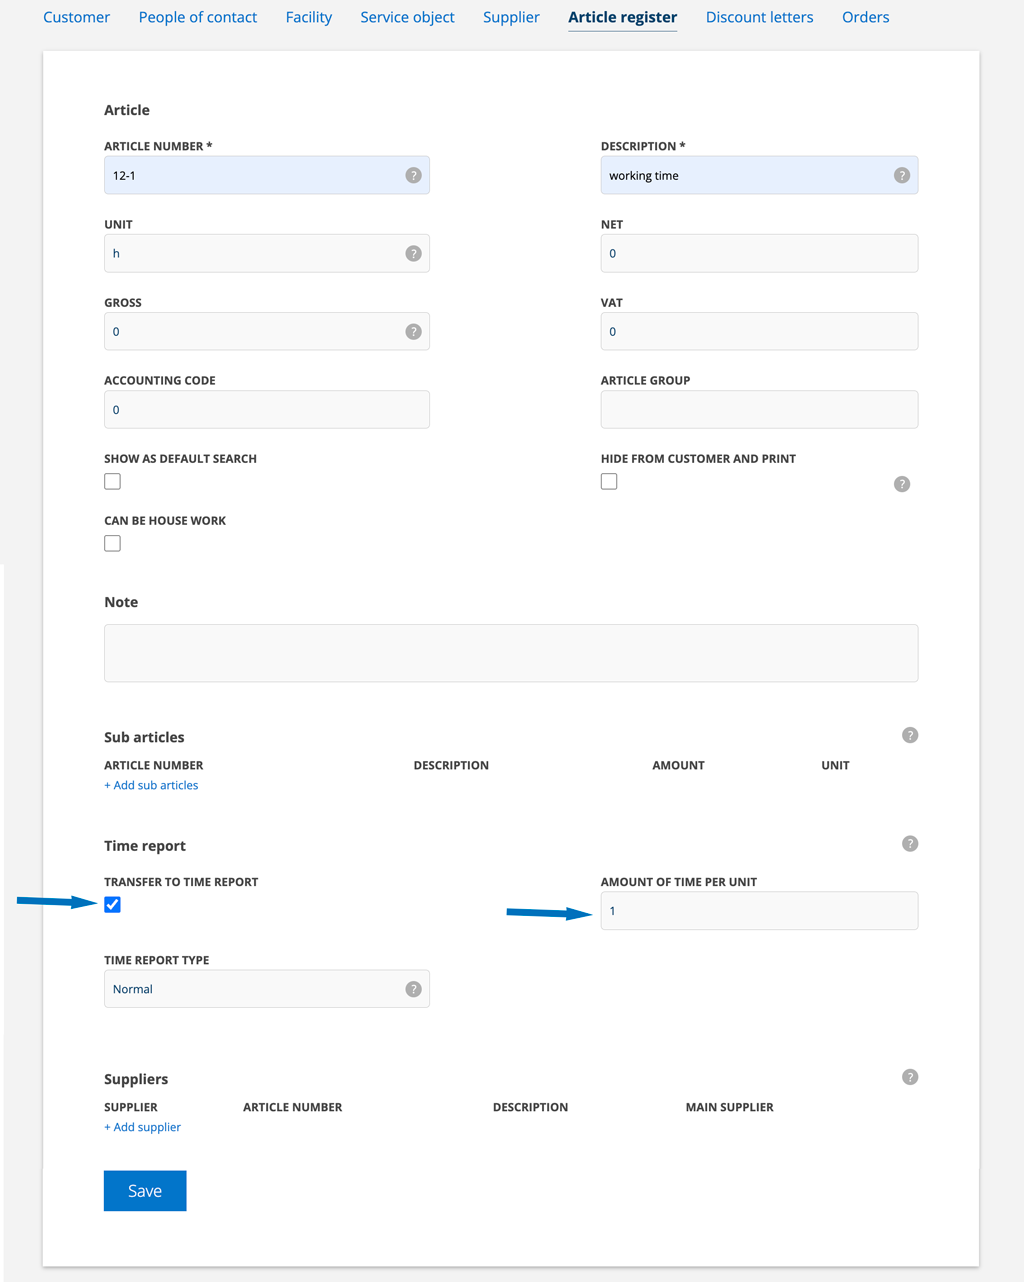
Go to the article register and create (or search if the articles already have been added) the articles concerning your working hours.
- Click Edit.
- Check the box under Time report – Move to Time report
- Enter a digit. 1 means that 1 hour is entered as 1 hour on the time report. For example, if you enter the number 2 here and have added 3 hours to the order, 6 hours (2 x 3 = 6) are moved to the time report.
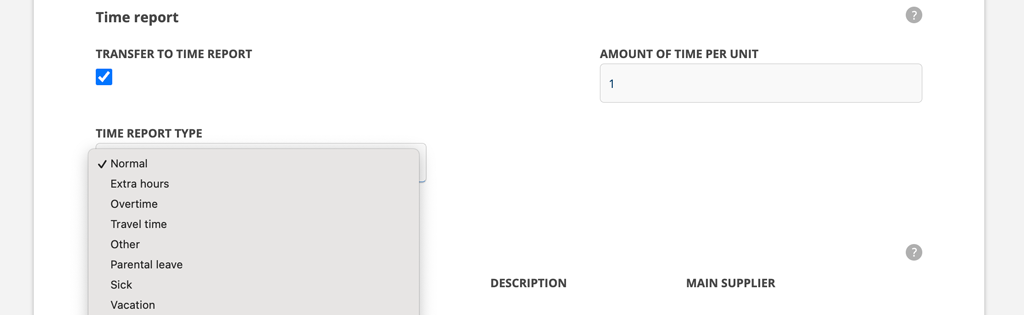
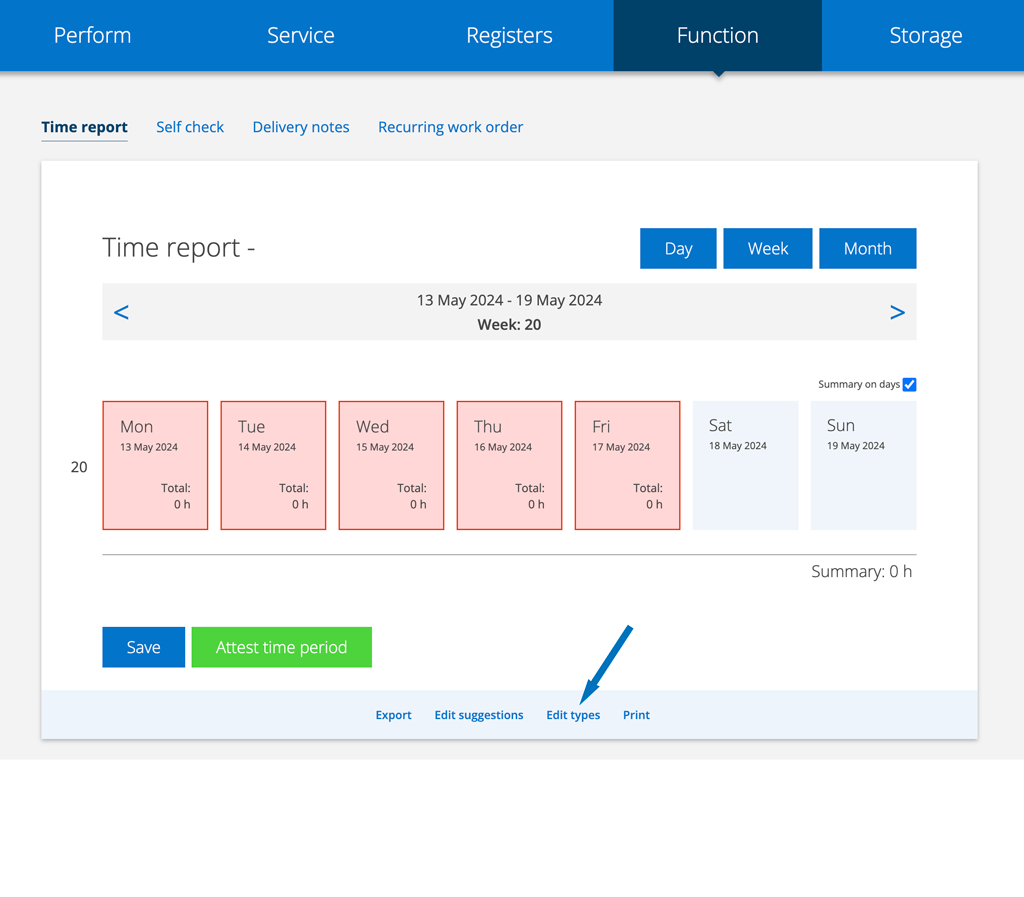
- Enter the time report type to use when this article is passed to the time report. Additional types can be added in the time report view. Click Edit Types at the bottom on the page. Admin permissions are required.
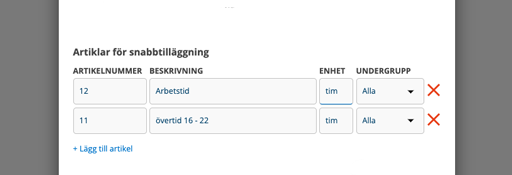
Add articles
If you use the Work order setting – Add articles and want to include a time article there, you also need to add it to the list of articles you can choose from.
If you also have the Article setting – Separate time report articles, the system recognizes that it is a time article and is only displayed under the heading Time.
Time article that is collected from the customer
You can add labor time as a work order article on the customer. Set the number of hours to 0.
The article is then added to a order with “0” in the number of hours.
When you have finished working, report your hours on the order, i.e. change “0” to the actual time you worked.
NOTE! The date is automatically adjusted to today’s date, the system selects the date you last changed on the line. This means that if you or someone else goes in and changes the number of hours later, the time will not be on the correct day and you will have to manually change the date.