There are a lot of group settings that can be made for the Planner and that affect how the user sees the Planner.
Go to Group settings – Planner settings. Admin permission is required.
View settings
- Show serial numbers on bookings: That is the order number. Added first in the information about the booking.
- Show customer names on bookings
- Show facility name on bookings
- Show monthly view on calendar
- Show weekly view on calendar
- Show day on the resource view
- Show month on resource view (+ 3-month view)
- Show week on resource view
- Always show description
- Send notifications on other bookings: Sends a notification when there is a booking type “Other”
- Use rentable objects.
Enables the Rental module in the Planner and adds the field Rentable on a service object record. - Set custom status as text color
- Set booking type as background
The system will as background color use the colors you set for the booking types. - Set order type as background
The system will as background color use the color you set for the order type set in Work order or Service order. - Show time on bookings.
Choose whether to display the time on bookings in the planner - Show status on bookings
This is checked by default. Uncheck if you don’t want to see the status mark (the narrow stripe on the left of a booking) in the Calendar and Resource. See example below.

View settings for booking screen
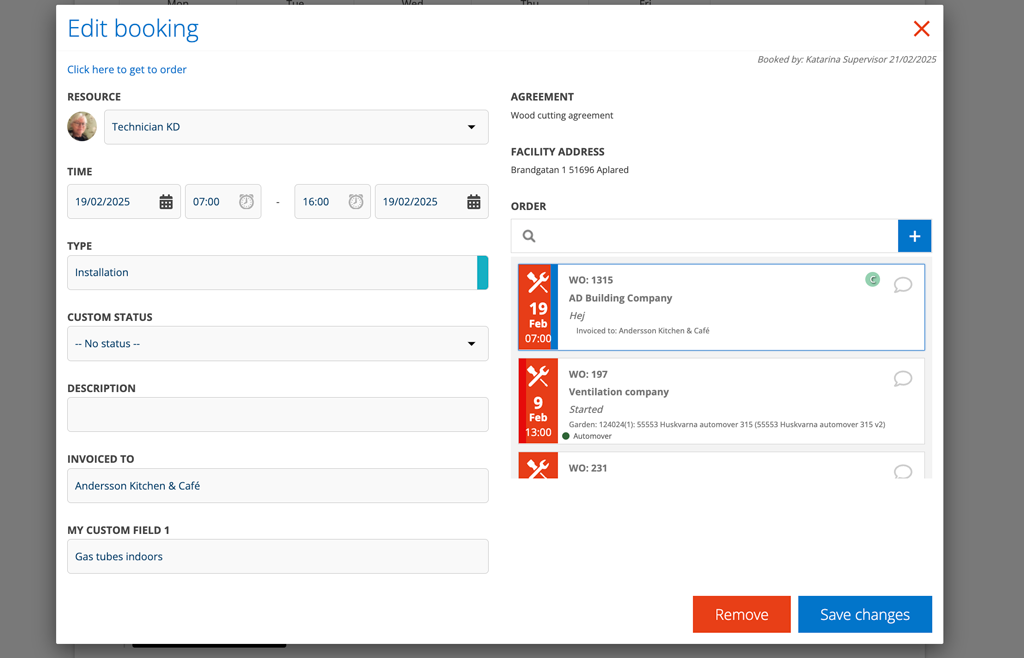
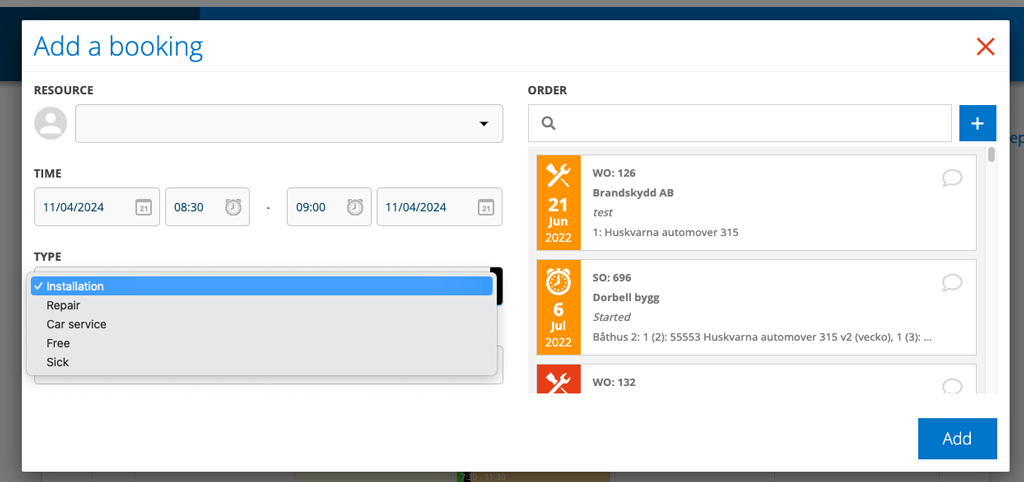
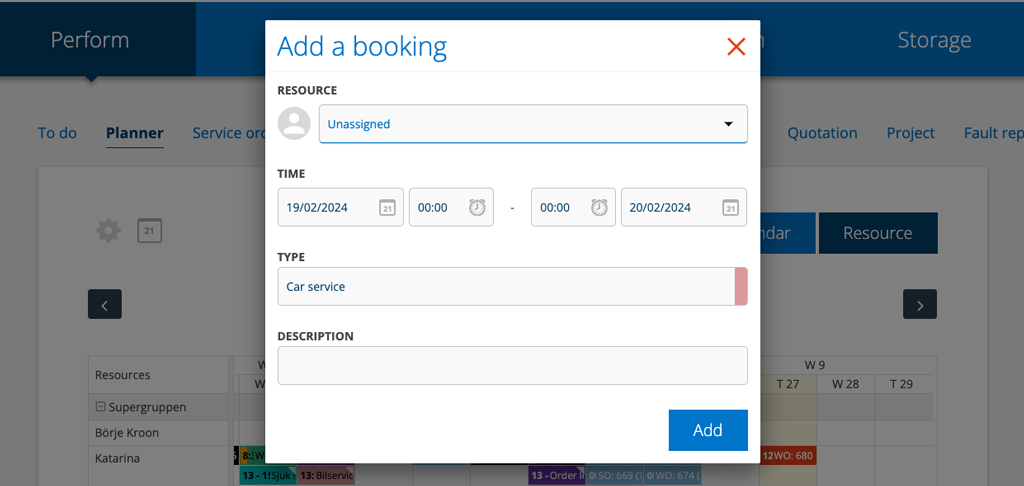
When you click on a day or order in the calendar or resource, a popup opens where you book or change the booking. You can control what information you want to include in this popup by choosing from these settings:
- Show facility address
Shows the address of the facility in the right part. The information is displayed when you click on a booking to edit the booking. - Show custom fields
Adds all custom fields linked to the order and their contents. The information is displayed when you click on a booking to edit the booking. - Show agreement
Shows the agreement linked to the order in the right part. The information is displayed when you click on a booking to edit the booking. - Show ordertype
Shows what order type the order has. Order types are set in Work order- and Service order settings. Learn more about order types here. - Show invoiced to
Adds a field for invoiced to other customer. The field is displayed when you click on a booking to edit the booking.

Other type
Select which time report type should be linked to Other in the Planner. The list shows all your time report types. The same color as the selected time report type is also shown in the Planner.
If you do not make a selection, the selected type is Normal and black.
To see and change colours do this:
- Go to Time report
- Scroll to the bottom of the page
- Click Edit types
- Find the type. To the right of each type is a colour field. Click on the field and a color palette will open where you can change the colour.
- Save your changes.
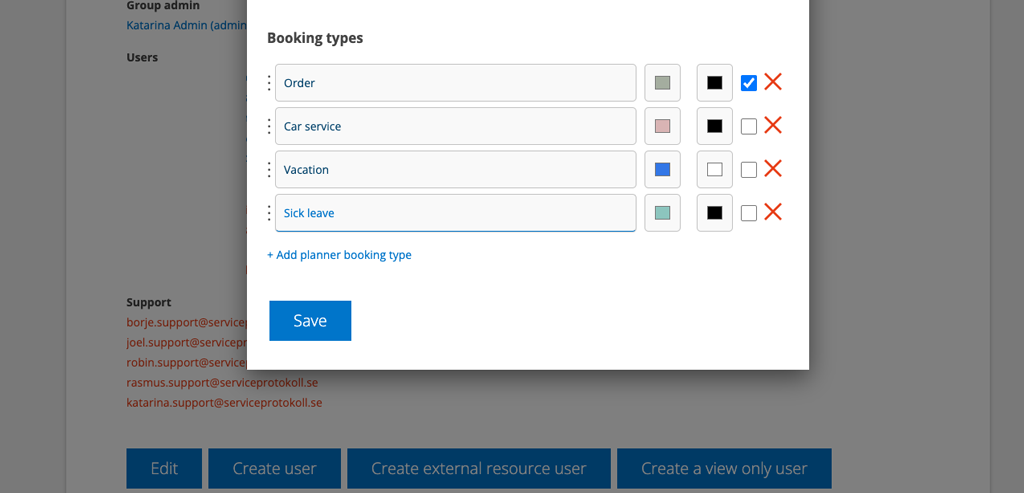
Select own booking types
If you want to use your own fonts to choose from when booking, fill them in here and choose the background color (first color field) and text color (second color field).
Also choose in the view settings whether the booking types should be displayed as a background color in the Planner – Resource.
Check the last box (see image below) if the type applies to an order. This will open the list of your orders when you make a booking. If you leave the box blank, the type will be an “other type” and the list of orders will not open.

Please note that you must enter all the variants you need. If you use this function, none of the ones that are standard in the system (orders, other time, vacation, sick, childcare …) will be retrieved.


Select own booking types
If you want to use your own fonts to choose from when booking, fill them in here and choose the background color (first color field) and text color (second color field).
Also choose in the view settings whether the booking types should be displayed as a background color in the Planner – Resource.
Check the last box (see image below) if the type applies to an order. This will open the list of your orders when you make a booking. If you leave the box blank, the type will be an “other type” and the list of orders will not open.

Please note that you must enter all the variants you need. If you use this function, none of the ones that are standard in the system (orders, other time, vacation, sick, childcare …) will be retrieved.


User permissions concerning the Planner
View, View assigned, Edit, Assign* View hidden.
View assigned means that the user only sees their assigned orders in the planner, not anyone else’s.
View hidden means that booking types that you have set as hidden are displayed to the user.
*Without the permission Assign the user does not appear in the Planner/Resource. NOTE that Assigned is required to be able to change who added an order i.e. if you have the Article setting – Change which user added an article.
