
If you want a customer of yours to be able to log into serviceprotocol.com to keep track of what is being done, you add the customer as “customer user”.
A customer user only sees “his” service orders, work orders, service items and facilities. Just like with regular users in the system, you can set permissions for the customer user. For example. if the customer user himself should be able to log in and make uptime readings on his service objects, view and upload documents/files to the order or service object (including documents on Model if any) and any self-checks.
To add or change the permissions of a customer user, administrator permissions are not needed, but only the user permission to “Edit customer user permissions” under Customer.
Guide to customer user
Here you find this guide as pdf.
Concerning facility
Unlike normal users, customer users can also be allowed facilities or unrelated objects. In this way, you can invite several users and assign them to their specific facility at the customer.
Unattached objects are service orders, work orders and service objects that are not linked to a facility. In that case, click under Facility: Not assigned to a facility.
Fault report
If you give the customer the permission to enter fault reports, you will see when a fault report has been received through a red exclamation mark under the Fault report menu. If the customer has an assigned technician* a notification is also sent to the technician – as an SMS or e-mail, depending on the setting the assigned technician has made in their account settings.
Self-checks
If the customer is to be able to complete a self-check, you grant the permission to Self-check – View. Self-checks that have already been completed are opened as usual as a PDF.
Comments
The customer can write their own and respond to comments on “their” orders. Assigned* technicians receive a notification when a comment is posted by the customer.
If you do not want your comments on the order to be shown to the customer, select Internal comment when writing the comment.
Create customer account
How to create a user account for a customer:
- Log in to your account
- Go to Register > Customer.
- Find the customer you want to add a customer user to.
- Scroll to the bottom of the page and click the Add-dropdown. Click on Create customer user.
- Enter an email address for the customer user. This will be the customer username so it must be a valid email address. If the customer has several facilities, you choose which of these this particular user should be able to see.
- Save by clicking Create user.
- Select permissions for the user and save the changes.
- The user receives the account information sent to them via e-mail

If you have marked that the customer user should be able to choose to receive e-mail or SMS when a work order is created, the customer user himself needs to mark it in his account settings. There, the customer user can also choose which language the system should be displayed in.
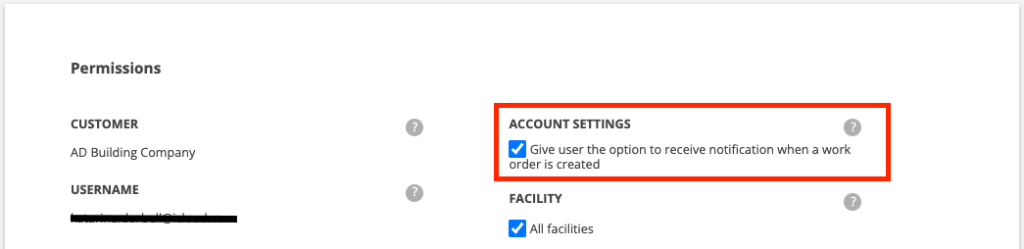
To get to their account settings, the customer user clicks on their username. There, the customer user selects what is desired and if it is SMS, a mobile number also needs to be filled in.

Change settings for a customer user?
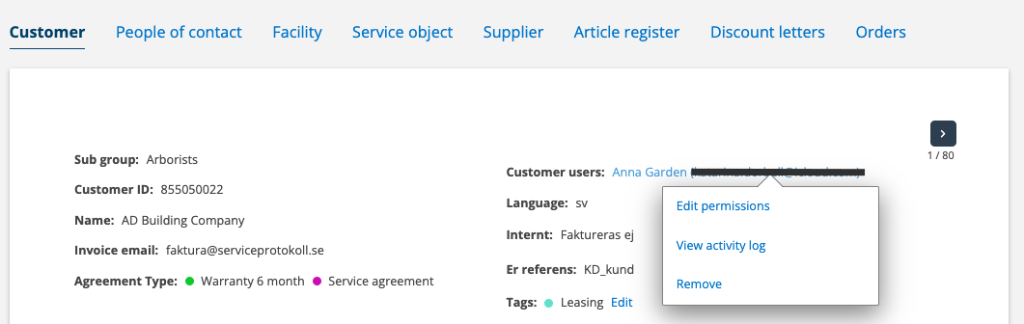
You can see which customer users a customer has by going to the customer in the Customer Register. Customer users are listed under the heading Users. Click on the username to change permissions or delete for deleting the customer user.
You can also see the activity log for the customer user.
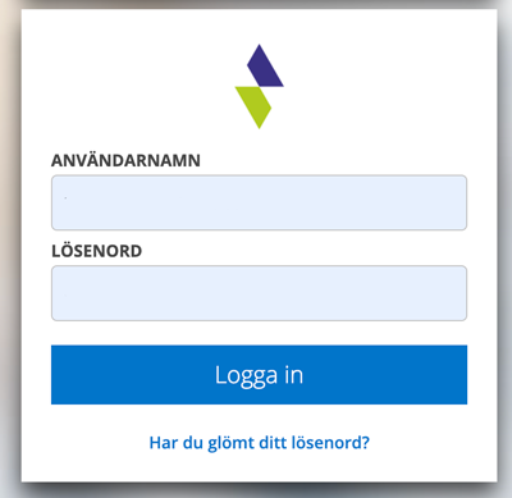
Example of own login popup
You can create a login box for your customers by adding your company name to a link address. The logo is downloaded from your group settings page.
Replace the xxx in this address): https://app.serviceprotokoll.se/Account/Login?branding=xxx The address must be exactly the same as entered in your group settings with any spaces and special characters.
Example: OO Software AB will be like this: https://app.serviceprotokoll.se/Account/Login?branding=OO Software AB
Type the address into a web browser and it will add allowances for any spaces and oh-oh for you. OO Software AB’s address will then be: https://app.serviceprotokoll.se/Account/Login?branding=OO%20Software%20AB
Use this address to create your link. Put the link on your website.
*If you, who are not assigned to the customer, want to be notified of error reports, set it up in your account settings under Notifications. You will then be notified of all error reports that are received.