
Under Purchase orders, you manage all your purchase orders. You can quickly add a purchase order, send it via email, print it, upload attachments, etc. And, if you use the function Storage, when the order is delivered – make a delivery to a storage.

Search purchase order
Click this button to filter your search.
Example: select those assigned to you, filter by date, customer, etc.
If you want to use the same filter more than once, you can choose to Save settings (at the bottom right of the box). Read about how to save as favourite
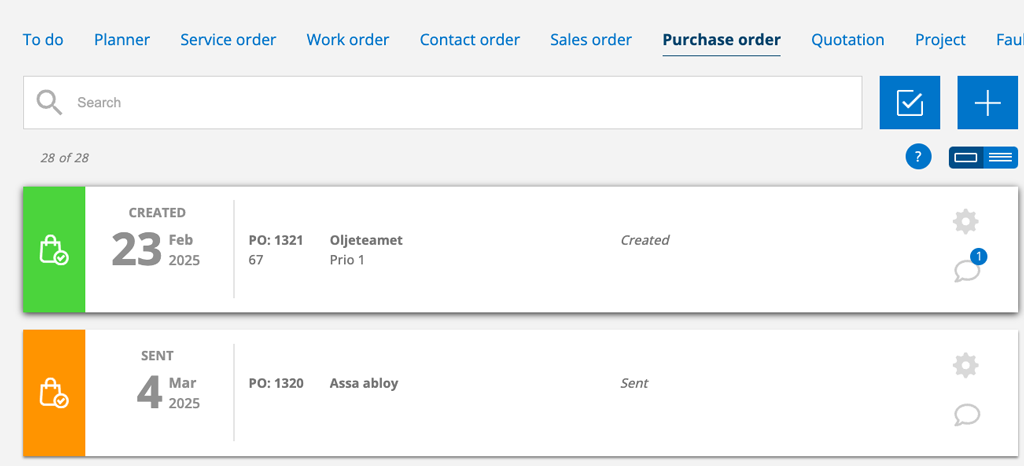
There are three ways to create a purchase order.
- Under the Purchase Order menu in the Perform tab.
Click + to create a purchase order. See image 2. - Add Purchase order from Work- or Serviceorder
- Via a Storage by clicking Order shortage..
- Download a file.
2. Add directly from an order

Click on the shopping cart symbol and a popup will open where you select which articles to order.
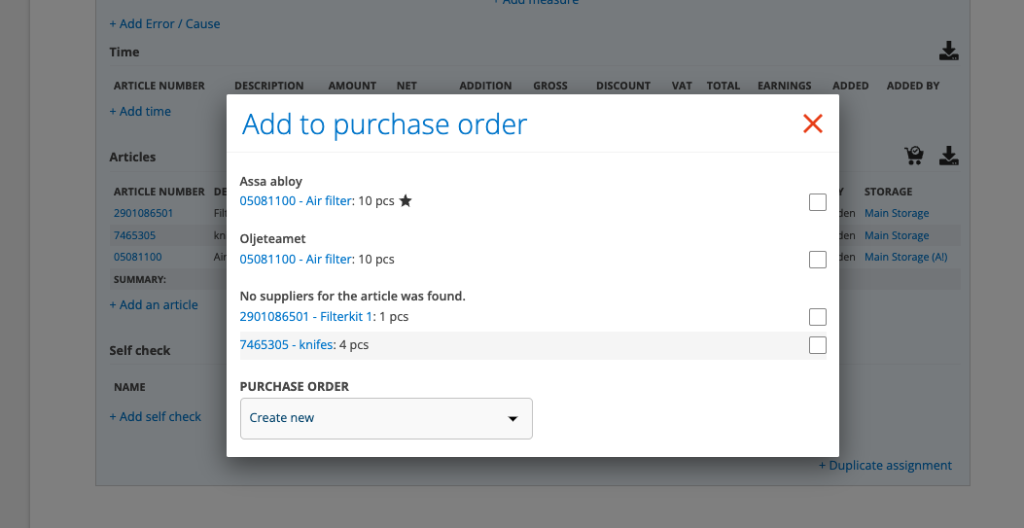
In the popup you will see and can choose from the suppliers you have registered for the article. A small black star shows which supplier you have specified as the main supplier.
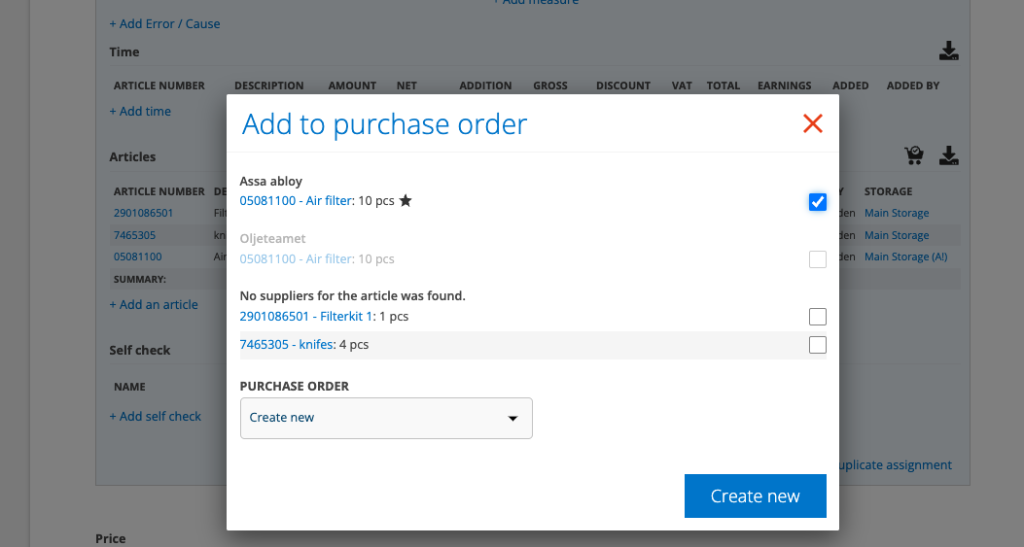
Once you have chosen one supplier, the others are “grayed out”.
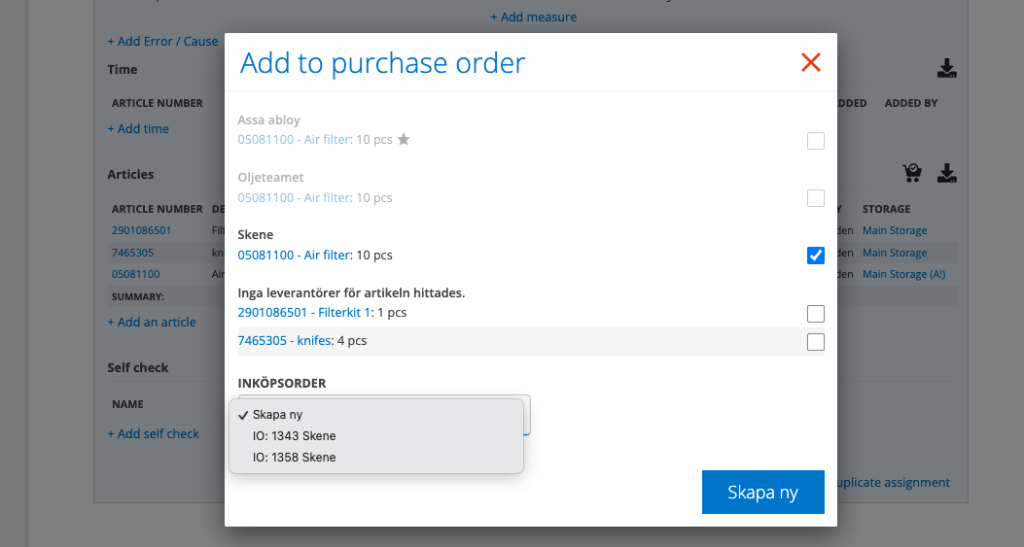
Then click on PURCHASE ORDER (bottom left of the popup). A menu with your existing purchase orders (with status Created) will appear.
Select which purchase order the article should be added to or create a new one. You will be redirected to the Purchase Order and can adjust and supplement the order if needed.
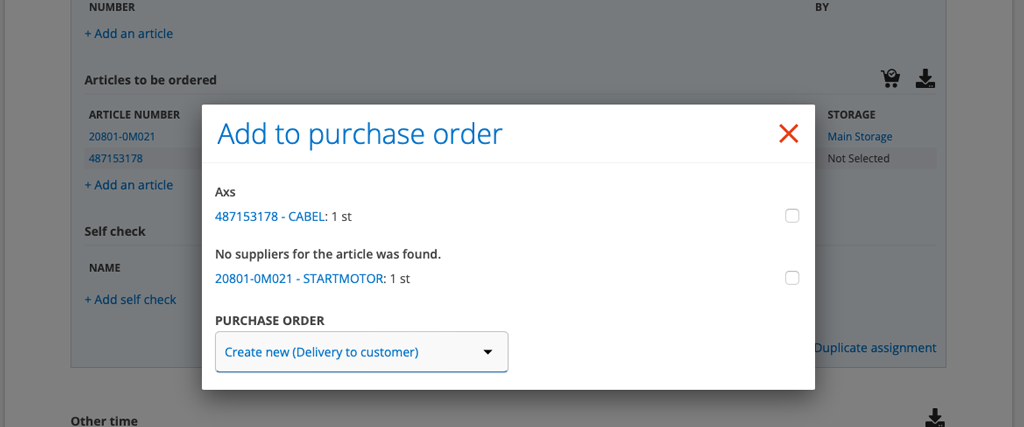
Customer’s delivery address on the purchase order
In this mode, you can choose to create a purchase order for a customer. The customer’s delivery address is automatically added to the purchase order. The delivery address is retrieved in this order:
- from quote
- from facility
- from the customer card.
3. Order shortage
When you order stock, the order amount is set to the difference between your stock and the order point. That is, if you have set the order point to 10 and have 8 in stock, 2 will be ordered on the Purchase Order.
Learn more about Order stock here.
4. Download the list of articles
You can also download the list of articles to be purchased.
This is what that symbol looks like:![]()
Concerning Storage
If you have the Storage function and if you have not specified a storage for the article to be ordered, you will need to remove the article manually when receiving it into a storage.
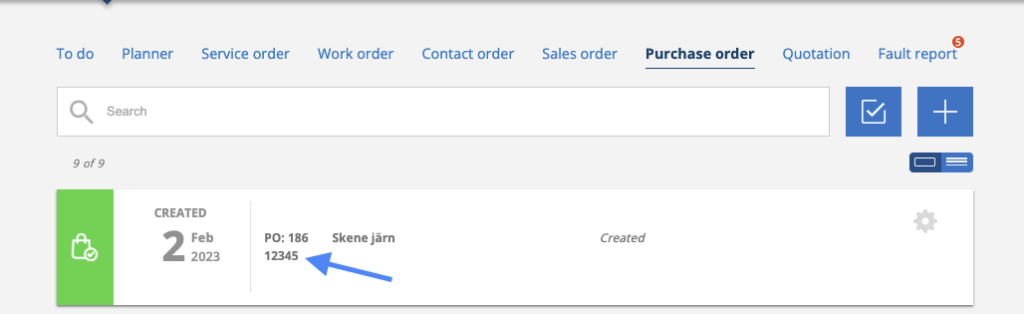
Which order did the order come from?
When you add articles from different orders to an purchase order, the order from which the iarticles is added is indicated after each article row.
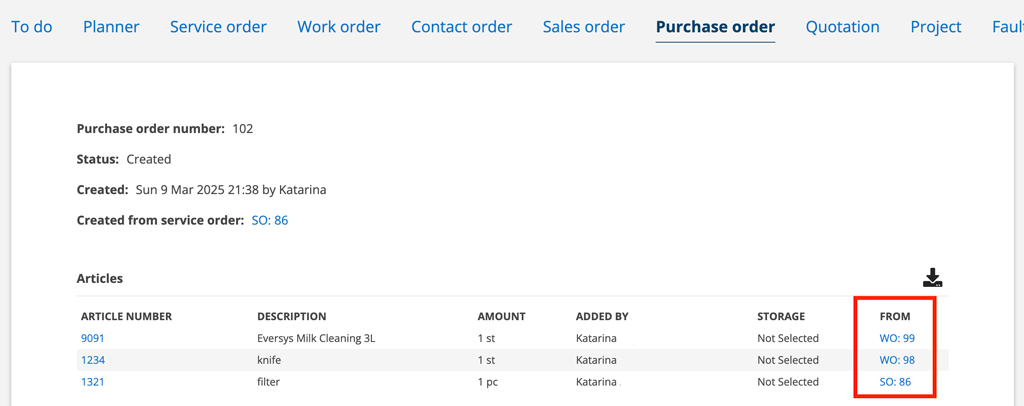
If the purchase order is created from, for example, an order, a storage or a quote, there is a link to this in the header. See screenshot above with the text Created from work order: WO: 90. If the order is generated from a quote, it says: Generated from: Q: xx (quote number)
Edit
If you want to change a Purchase Order, click on the order, scroll to the bottom and click Edit. You can also click on the cogwheel on the far right in list mode and select Edit there. This will open the order directly in edit mode.
Make your changes and click Save Changes.
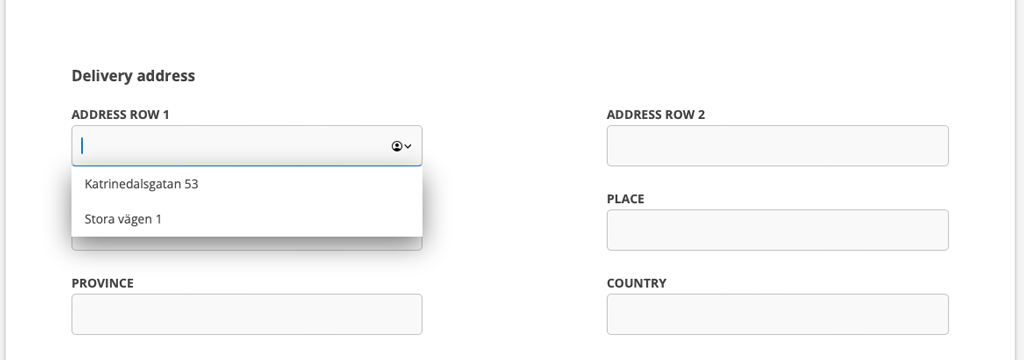
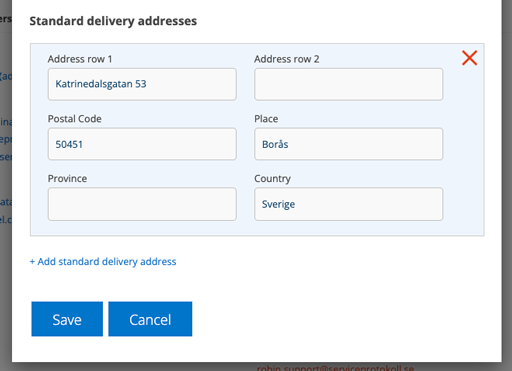
Delivery address
If you have entered one or more standard delivery addresses in the Purchase order settings, these will be displayed when you place the cursor in the Address row 1 field.
Comment
Add comments by clicking + Add Comment.
To change/delete the comment click on the pen. Comments is not shown and cannot be added or edited when clicking Edit on the order.
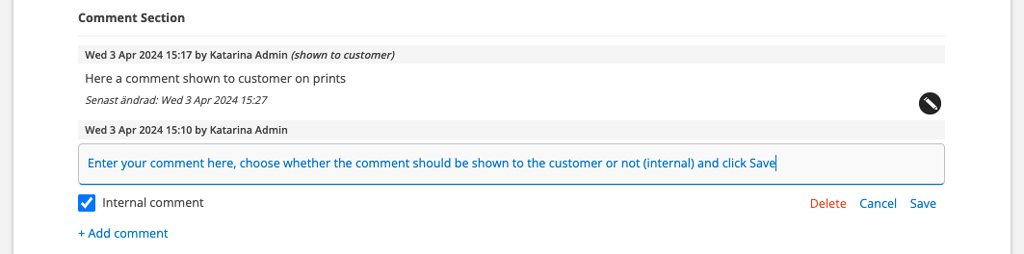
By default, the comment is internal (ie not shown to customers and on printouts). Uncheck the box if the comment should be displayed.
The check box is visible when you click on + Add comment or on the pen. If Internal Comment is not checked, the text (displayed to customer) is added after your username.

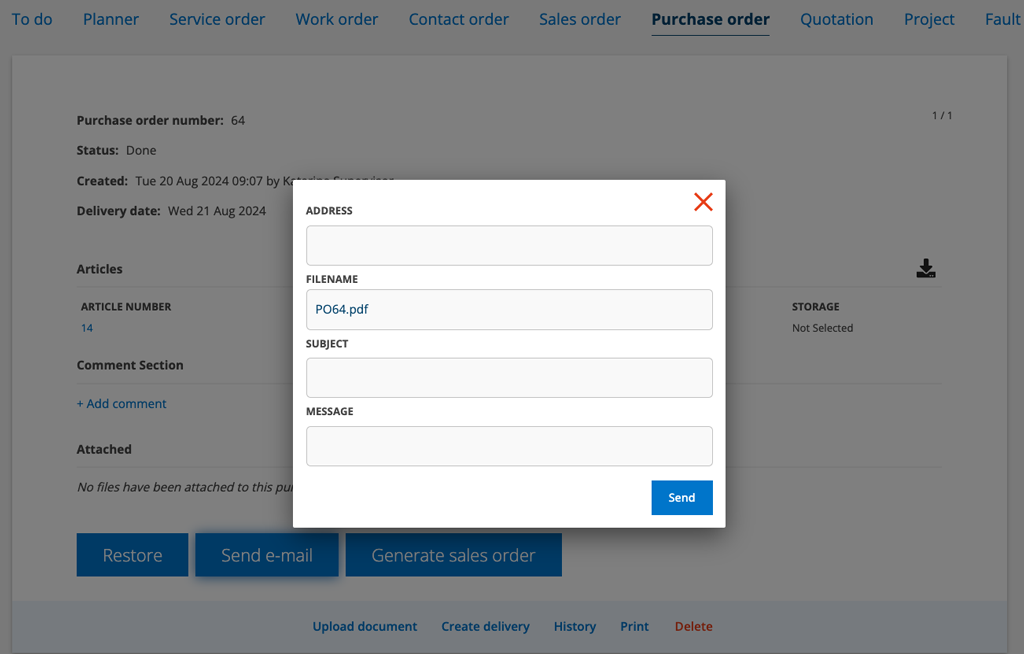
Send
To place your order, click Send e-mail. Fill in the address and select Message templates if you have added one, otherwise fill in the Subject and write a message.
The system then creates a PDF that can be emailed.
The system first retrieves the supplier’s order email, if it does not exist, the email address of the supplier’s contact person is retrieved, and if it does not exist either, the email address you entered in Purchase Order Settings is retrieved. You can also fill in an email address.
Status
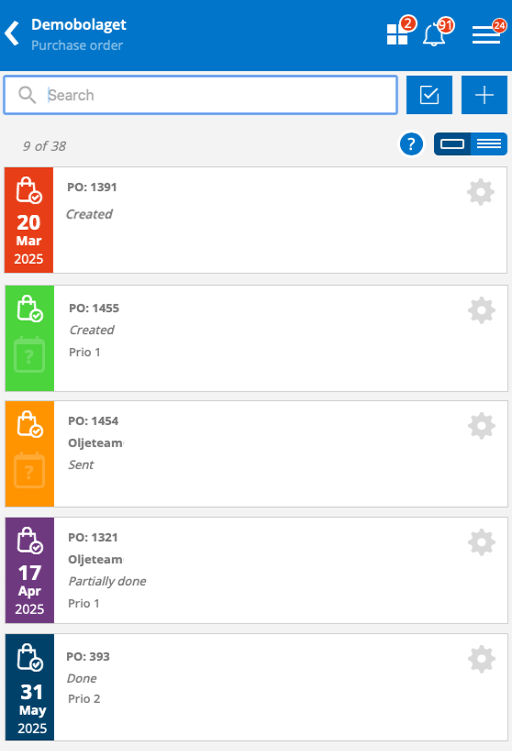
Just like other orders, you can see the status of your purchase orders through the color markings:
Green: Created i.e. Planned for the future. Green can also mean that the order has no date.
Orange: Sent
Purple: Partially delivered
Blue: Delivered
Red marks a missed (passed) delivery date.
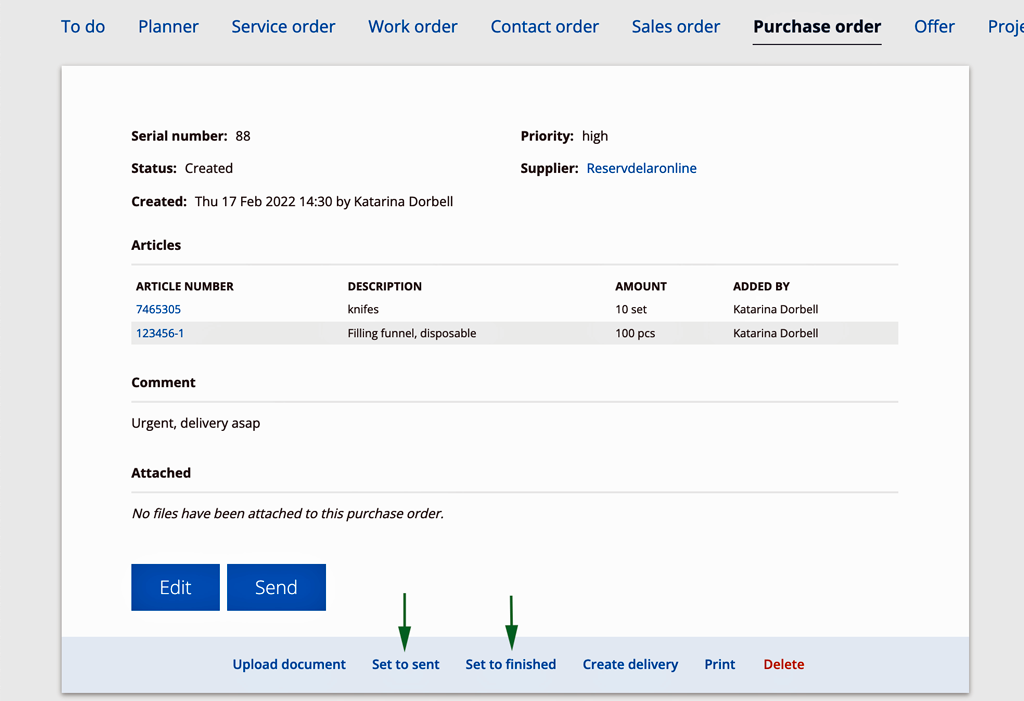
You can also choose to mark an order as complete or sent by clicking Set to finished and Set to sent (requires the permission to send).
If you have uploaded your own print templates, select in the popup which template to use, otherwise the standard template will be used.
Information for admins
Under Group settings – Purchase order settings you can:
- enter a default email address for sending purchase orders
- create descriptive texts for Prioritization suggestions
- create custom fields
- add standard delivery addresses shown when putting the cursor in the field Address row 1
- Upload print templates
User permissions concerning Purchase Order:
View, Edit, Create, Delete, Send, Delete Uploaded Files.
More information about how to manage user permissions can be found here.