
2024-04-02 – Save your signature, new overtime timer setting, edit articles quickly…
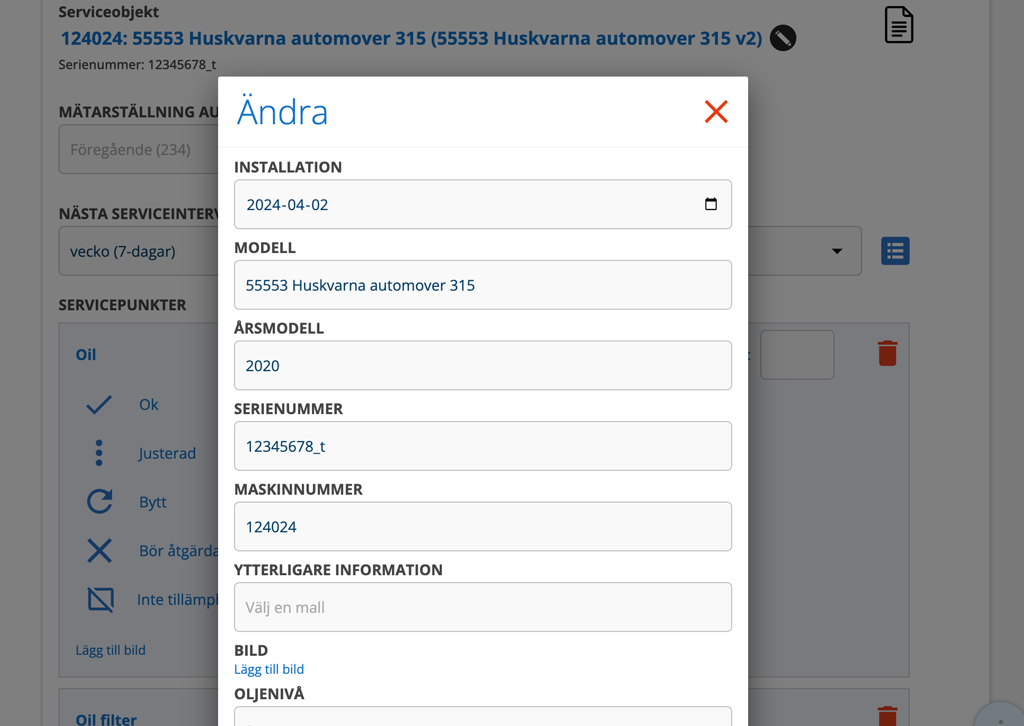

Edit service object information on an order
If you need to change the information about the object, click on the pen to the right of the name of the object. A popup will open where you can make your changes. Here you can also upload images and documents.All changes are saved to the object record. A document icon indicates that there are files on the object. You see this part even if you do not have permission to change the object.
A document icon indicates that there are files on the object. You see this part even if you do not have the right to change the object. Click on the symbol and a list of documents will appear. If you want to open a document, click on the file name.
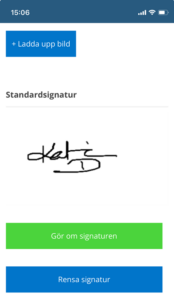
Save your signature
Tired of writing your signature? Save your signature in your account settings and it will be added automatically.
Do this:
- Click on your username. On a computer, you’ll find it at the top right. In mobile at the bottom of the menu.
- Click Create signature. The signature box opens.
- Write your signature.
- Save.
If you are not satisfied, just redo it.

New timer setting
In the timer, we have added field for default overtime article.
For this to work, working hours must be entered in your user settings. An administrator does that for you.
Don’t see the timer? Then you have not entered any standard items in the timer settings. Read how to set and use the timer here.
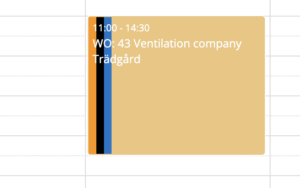
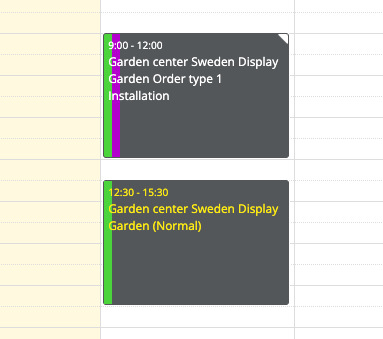
Display of colors in Planner – Resource
UPDATED INFO 240409
We have rearranged the order a bit and added more setting options for the colors in the Planner for those of you who have chosen to create your own booking types and/or your own order types. In addition, you can now set the custom status to appear in the text color.
This is how the colors/fields are displayed as default:
With the Booking type (which you set in Planner Settings) – see image.
Calendar from the left: status / booking type / order type / technician color as the large field Resource from the left: booking type / order type / status as the main field
With default types already in the system: Calendar from the left: status / order type / technician color Resource from the left: order type and status
Planner settings
There are new setting options for the Planner v.g. types:
- Set custom status as text color
- Set booking type as background
- Set order type as background
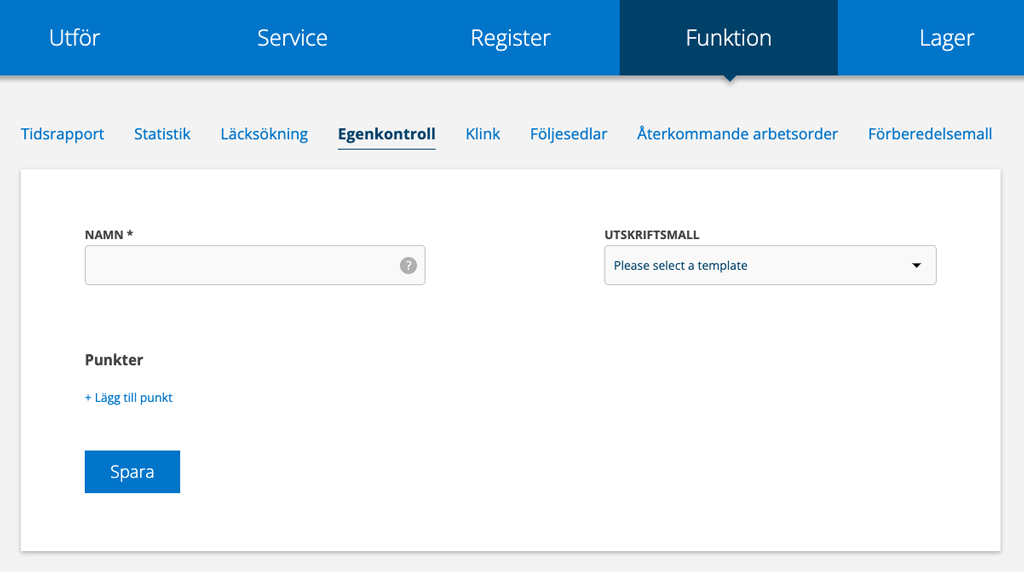
Own print templates on self-checks
Have you created and uploaded several different custom print templates? Choose which of your templates to use for each self-check.
Learn how to create your own templates for printing self-checks
Multiple integrations on the same account
Do you have several integrations to accounting software? No problem! Now, on an order, you can choose which integration an order should be connected to. On the orders, a dropdown appears where you select integration for the order. If you do not select an integration, the order is sent to all integrations.
In the integration settings, you can choose to specify a standard integration, i.e. which integration should be pre-filled.