
This article covers how to search for service objects and how to add and create new service objects.
Click here for more information and descriptions on the feilds on a service object.
Here you find information concerning Service object settings.
Search Service object
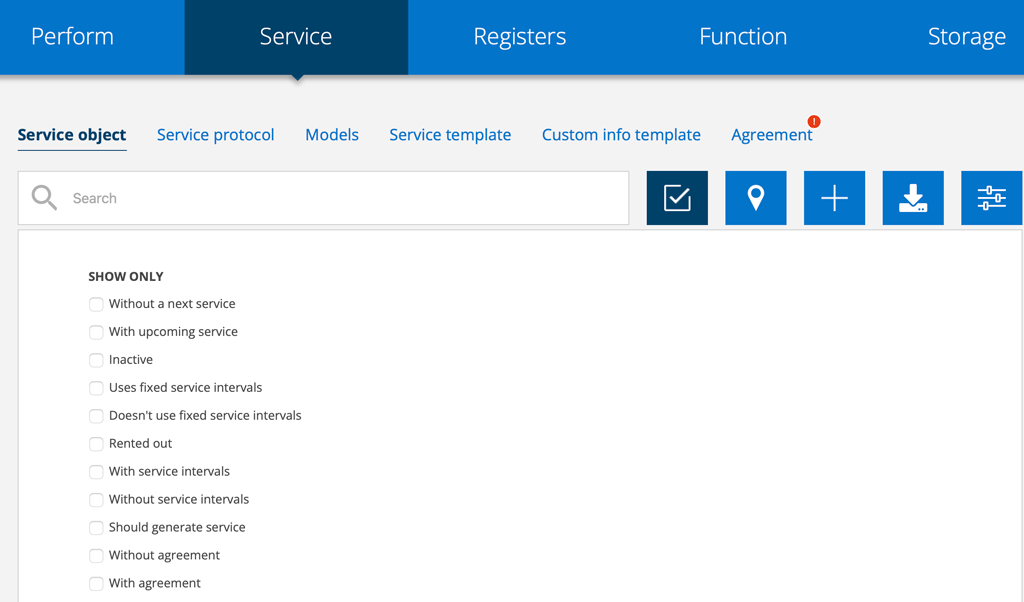

We recommend using filters when searching for service objects. Click on this symbol and the list of filtering options will open.

Click on the map symbol to see the location of the service objects on a map.

Export orders/download a list of orders.

You use the collection function to make changes (eg add tags or update service) or print QR codes on several objects at the same time.
The collection function creates a list (max. 1000) of your objects, so if you have many, it is advisable to filter the list first (click on Search – symbol 1).
How to add a service object
If you have multiple customers with service objects of the same type, it is a great advantage to use the Models function. Read more about it here.
There are several ways to add service objects. If you have many objects, option 1 is preferable. If it is a single object, option 2 or 3 is the easiest way.
Depending on which setting your group has selected in Service Object Settings, a wizard will appear to help you add a new object.
This is the first page in the wizard:
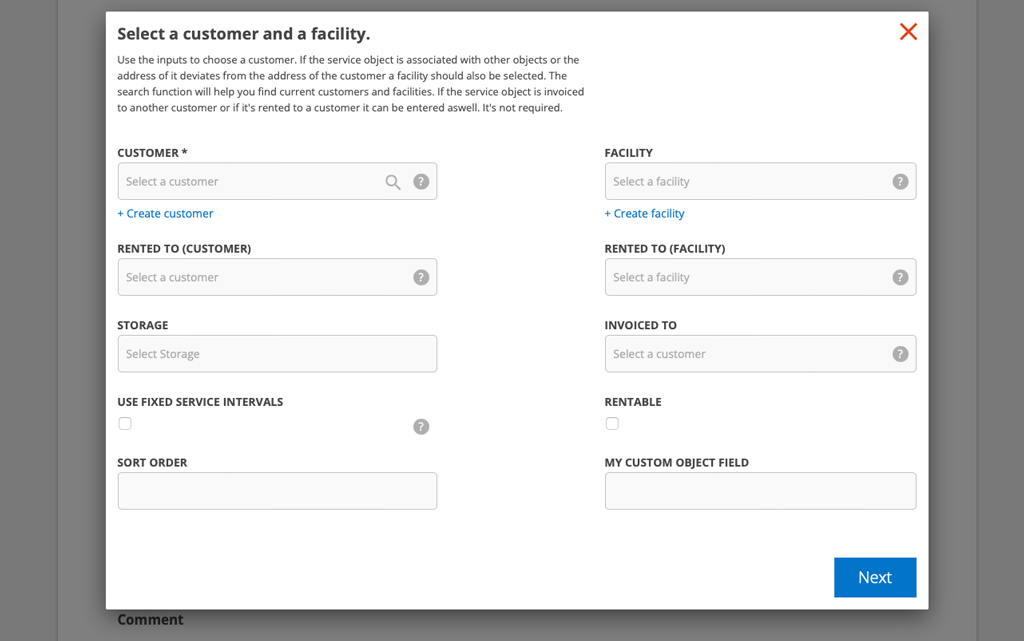
When you are finished, press the “Save” button at the bottom of the page to save the new service object. Assuming you have filled in the required information to generate a service, you will be asked about this.
Alternative 1
Upload a register with multiple service objects. Learn how to upload registers here.
Alternative 2
Go to Register – Customer. Find the customer. Scroll to the bottom of the customer card and click Add. Select Create service object. All information about the customer will then be added to the service object.
Alternative 3
Go to Register – Facility. Find the facility. Scroll to the bottom of the facility and click Add. Select Create service object. Information about the facility will then be added to the service object.
Alternative 4
- Go to Service – Service object.
- Press the button with the + sign.
- Fill in the fields.
- Please use the guide to make it easier. It will give you a description of the different parts.
- When ready click Save at the bottom of the page to save the new service object.
Alternative 5 – Clone
To add objects, you can also clone an existing service object.
All settings are copied. The object you are cloning must have a machine number. The new object gets the same machine number as the original machine with a serial number in parentheses. The clones are completely independent from each other and no changes to one clone affect the other clones or the object from which the clones were created.
Example: Object one with machine number 1232 is cloned twice and these get numbers 1232(1) and 1232(2). The number can be changed by clicking on the service object and clicking Edit.
You can also click Edit to move the clone to another customer or facility without affecting the original object.
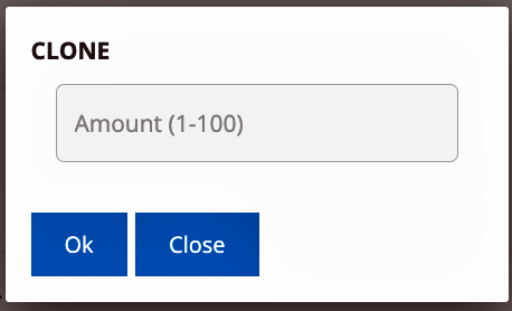
You can find the Clone button at the bottom of the detail view for the service object. A box will appear where you can specify how many clones you want to create.
Being able to clone is a user permission.
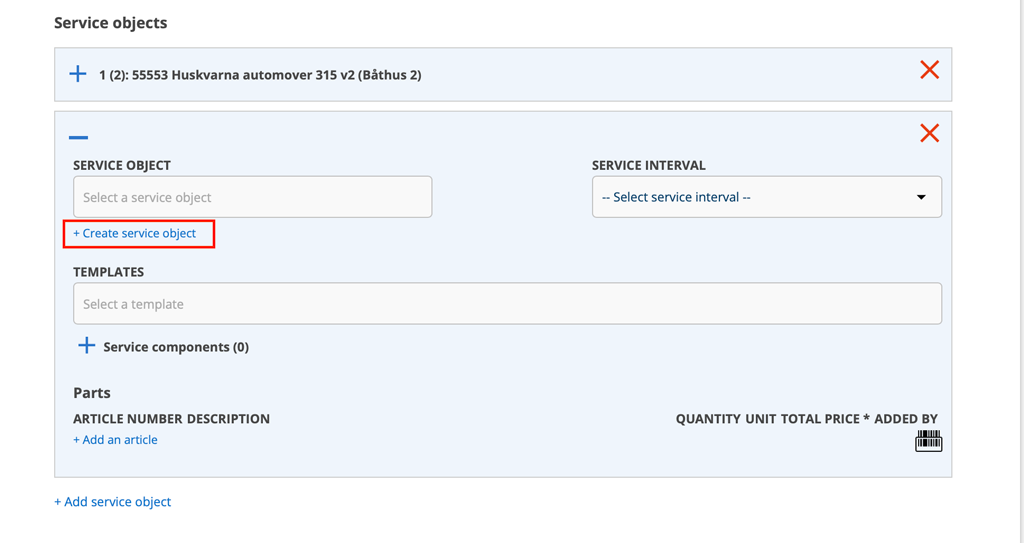
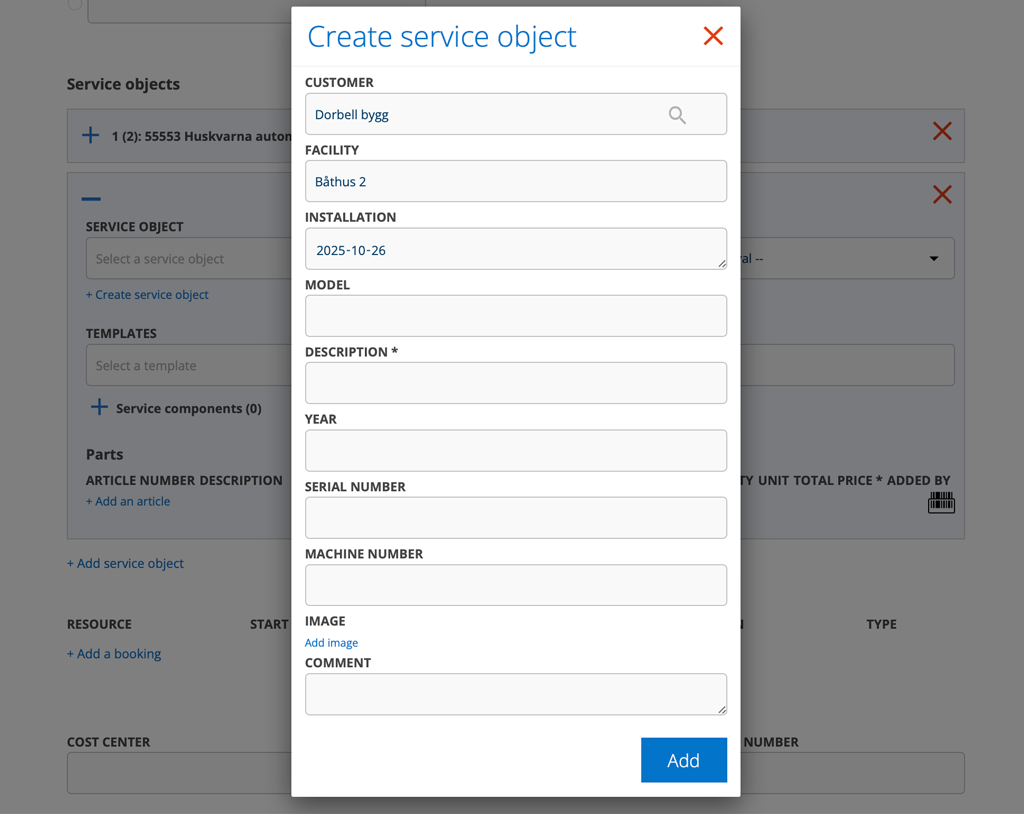
Alternative 6 – Create a new service object directly on a service order.
If you discover a service object with the customer that is not already entered, quickly add it by clicking Edit on the Service Order or Service Protocol. Under Service objects, click + Add Service object and then + Create Service object. A pop-up will open where you fill in the information you have about the object.
Once you have saved the service object
Once you have saved the service object, you can also select the status of the service object and add tags, provided that you have activated these functions.
Read more about service object status.
Add order
Click Add if you want to add a new order, submit a fault report, create an agreement or quote directly on the service object.
When you add an order from the object, the contact person is also sent to the order.