
Read also:
A service order is a planned maintenance and is the basis for creating a service protocol. Depending on the settings you have chosen, comments from the previous service will automatically appear and what material should be used for the type of service it is time for.
The service system automatically keeps track of how often and what type of service should be done on your models and then generates the correct service order.
The service orders are located under the menu selection Perform.
Search Service order

Click this button to filter your search.
For example: select those assigned to you, limit by date, customer, a specific order type or orders in a specific subgroup, etc.
If you want to use the same filter more than once, you can choose to Save Settings (at the bottom right of the box).
Learn more about Saving as favorite.

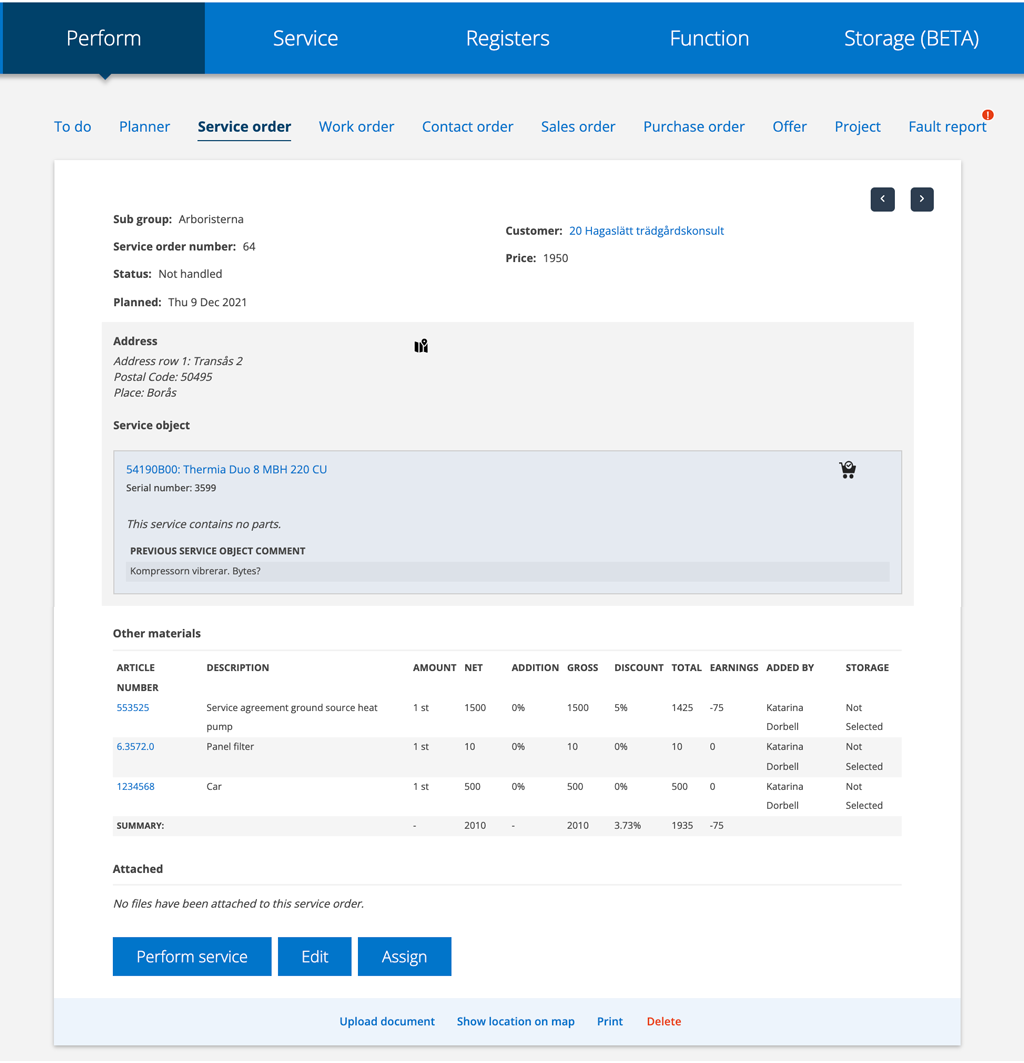
You can browse between the service orders, either by clicking on an order in the list or by browsing with the arrows in the upper right corner within an order.
If you have used a filter for your search among orders, you will browse through that selection.
If you want to search for a specific order and know the number, you can type an * before the number.
By default, Ready for Billing and Invoiced orders are mixed.
Detail view or list view?

Click the buttons to change the view. If you choose list view, you can also choose which headings (categories) should be displayed in your list view.
Learn more about categories.
Worth noting regarding the Total Time category: Total Time shows the amount of all time items (hours) on the order and not the time items (hours) you put on the service protocol itself.
Export list with service orders

First select the filters you want for your list by performing a search. Without filters you will get all service orders. Then click this symbol to export/download a list of service orders (xlsx file or csv file depending on your Group settings).
Print service order

Filter out which orders you want to print by searching, sorting or clicking in the filter settings. Then click on this symbol. Here you can then either select all by clicking in the top box or filter further by clicking on a customer, a name, status etc. Learn more about the collection function.
The Print button creates a PDF with all selected service orders.
If you only want to print one (1) order, open the order and click Print at the bottom.
Create a service order
There are several ways to create a service order.
- When you add a new service object, service orders can be created automatically at the interval(s) you specified in the service object settings.
Learn more about adding service objects. - On a service object record. Scroll down to the bottom and click Add. There you can select Add a new service order.
- Add a service order by clicking the plus sign under Perform – Service Order. Note that this does not create a recurring service interval on the object. See point 1.
- If there is a service plan on a service object that does not have a next service, you can find it by filtering “Without next service” in Search. Open the service object. At the bottom, you will find the Generate Service button, which will create a service order. Do you have many such objects? Use the Collection function!
- In the Planner. Learn more here.
Here we go through the different fields in a new service order.
SUBGROUPS
If your group/company has created Subgroups, you will see these at the top and can choose which subgroup the order should be created for. Subgroups are created by an administrator. See Group settings – Modul settings– Edit group settings.
SELECT CUSTOMER
Required field.
Type the customer’s name in the box or click the magnifying glass in the search box to search more precisely. Great if you have many customers with the same name!
The search function helps you find existing customers.
If the customer is not in the list, enter the customer’s name and the customer will be automatically added to the Customer Register.
If there are pre-selected service articles linked to the customer, these will be loaded into the order automatically.
TIP: You can also go to the Customer Register to create an order for the customer. Click on the Customer and then on Add... at the bottom of the Customer page.

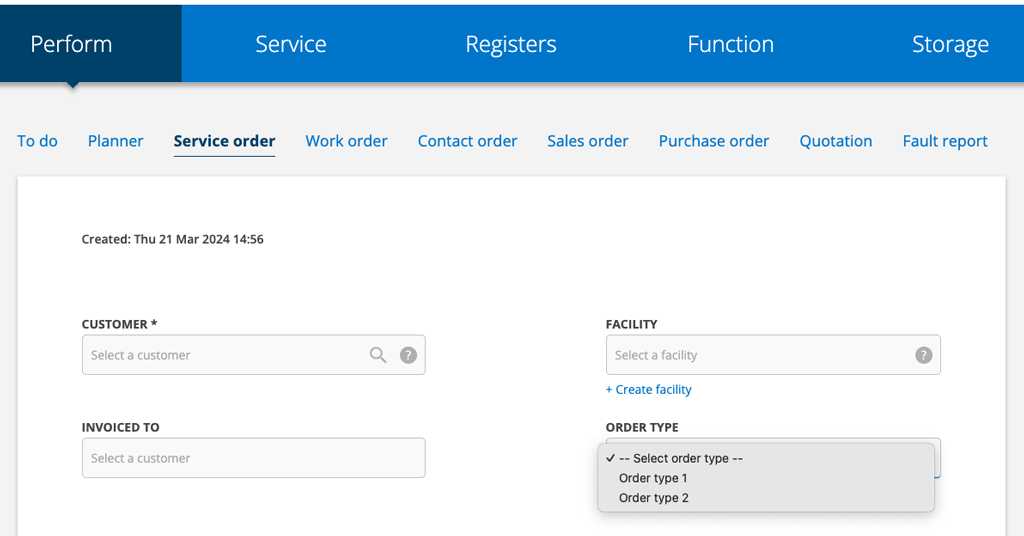
FACILITY
Place the cursor in the field and all facilities linked to the customer will be listed.
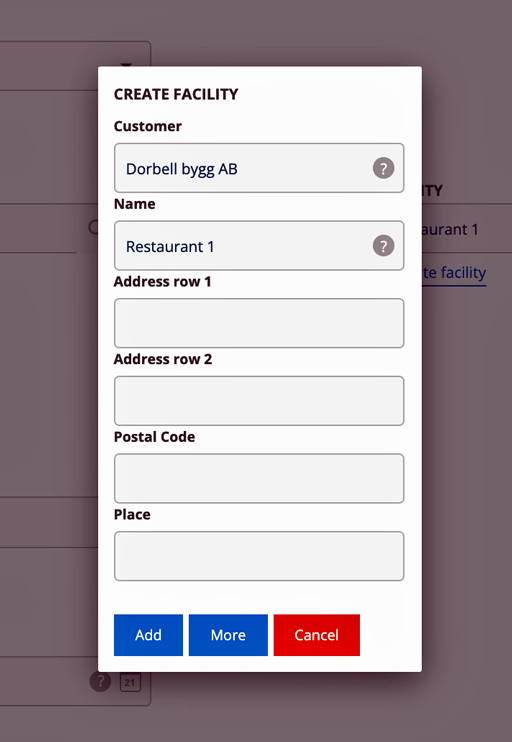
If the facility is not in the list, click on +Create facility and a box will open where you can fill in the information. Click on Add when you are finished.
If you want to enter more information about the facility, click the More button and the facility will open in your Facility Register in a new tab in your browser. Fill in and save the information.
If the billing address differs from the service object’s address, a facility must always be selected or added.
If there are service points on the site, these will be displayed on the order. If there are articles on the facility, you will be asked whether to add these to the order.
Invoiced other customer
Here you specify the customer to be invoiced if it is different from the customer listed on the order.
If you add an order to a facility that is invoiced to another customer, that customer will automatically be included in the order. If the service object has a different invoiced to another customer set – this customer will be selected instead of the facility’s.
To make “invoiced to another customer” appear you need to select that in the Group settings. Learn how here.
Order type
Select order type. If you have not entered any order types, the field will not be displayed.
Learn how to add order types here.
Customer order number
Fill in if necessary. If you have the customer’s order number specified at the facility or the customer, the order number will be retrieved from there.
Status
The status function helps you quickly keep track of what is happening with the different orders.
Depending on what you have selected, you can see:
- the systems field Status
- system Status and CUSTOM STATUS
- only CUSTOM STATUS
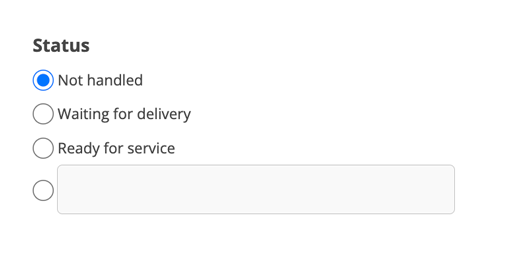
System status
You will only see the system status bar after you have saved your service order.
Choose between:
- Not handled
- Waiting for delivery
- Ready for service
- Free text field
TIP: Using the search function (blue button with the check mark) at the top under Service Orders, you can quickly sort/filter the orders based on status.
Waiting for delivery
You use this status if parts need to be ordered for the order. Extra fields open on Parts (under the Service object) where you can specify whether the parts are ordered etc. and delivery date if any. When you save the order, a message is sent to the email address you have set under Service order settings for this.
CUSTOM STATUS
Select among your own custom statuses from the drop-down list.
Learn how to set your own custom status suggestions.
Planned
Required field.
Service order setting that affects: Update planned date on booking.
The date for when a service should be performed is automatically calculated by the system when you choose to generate a service, as well as when you perform a service and a service protocol has been created.
However, the date can be changed manually. When the date is changed, the system will check if the service is close in time to other service events at the same facility and can thus merge services that fall close together.
This is called the service collision interval and helps you organize service efficiently.
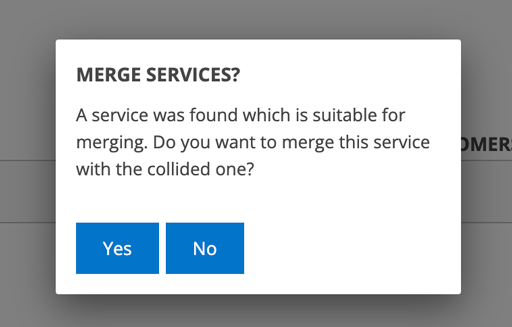
If you change the value (number of days), services that have already been generated will not be affected, but only new and changed (e.g. planned date) services will be merged. You will get this popup asking if you want to merge these services. If you answer no, each service will still be a separate order. If you answer yes, the service object will be merged into one order.
Contact information
Place the cursor in the field and all contact information entered on the Facility will be listed. Select the appropriate contact and the information will be filled in automatically.
If contact information is missing, fill in the information. The contact will also be automatically added to the facility in the Facility Register.
Object
The system lists all objects from the selected FACILITY when you clicked on + Add a service object and placed the cursor in the “Select a service object” field. If you have not selected a facility, the service order will be created directly under the customer and you cannot use the service collision interval function. The service collision interval setting is made on the Facility.
You can also start by adding a service object. The system will then automatically retrieve information about the customer and any facility.
When you have selected an object, all Service components associated with that object are retrieved. If you want to add more service components, click + Add service components.
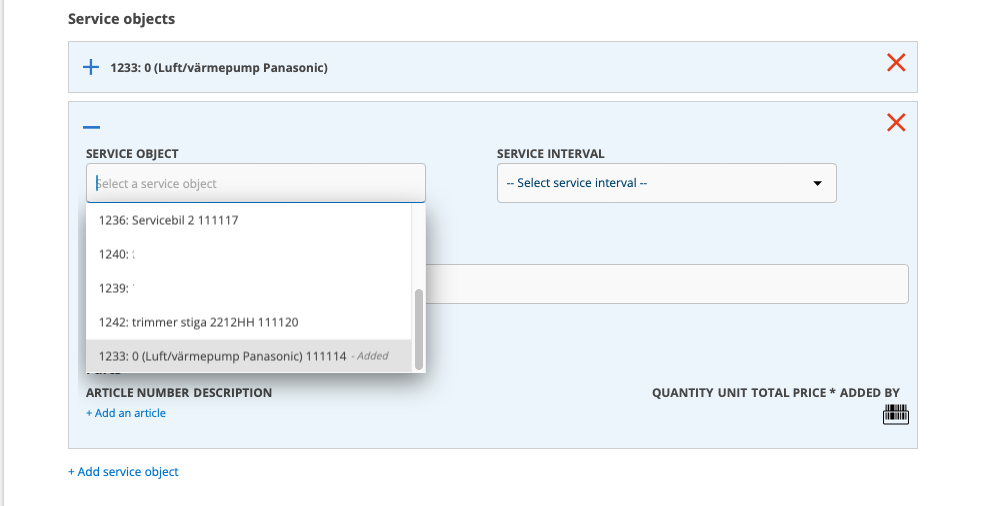
The same service object again?
If you need to add the same service object again, you will find these at the bottom of the list of service objects with the information that the object has already been added.
Change info?
If you need to change the information about the service object, click on the pencil to the right of the object name. A popup will open where you can make your changes. You can also upload images and documents here.
Create a new service object?
When you create a new service order, you can add a new service object directly and specify service intervals, service components and parts at the same time. The information you add will be added to the service object record. You have fewer options when creating intervals and cannot set time required to perform, order type or specify that the service object is run-time based. But you can of course add this information later.
To be able to create a service object, you need to have the permssion to Edit Service Objects.
If you choose a model
If you have selected a model for the object and the model has service intervals and parts, the system will retrieve that information. To see this information, you first need to save the service order. When you then click Edit, the information is there and you can choose which service should be performed.
If you don’t choose a model
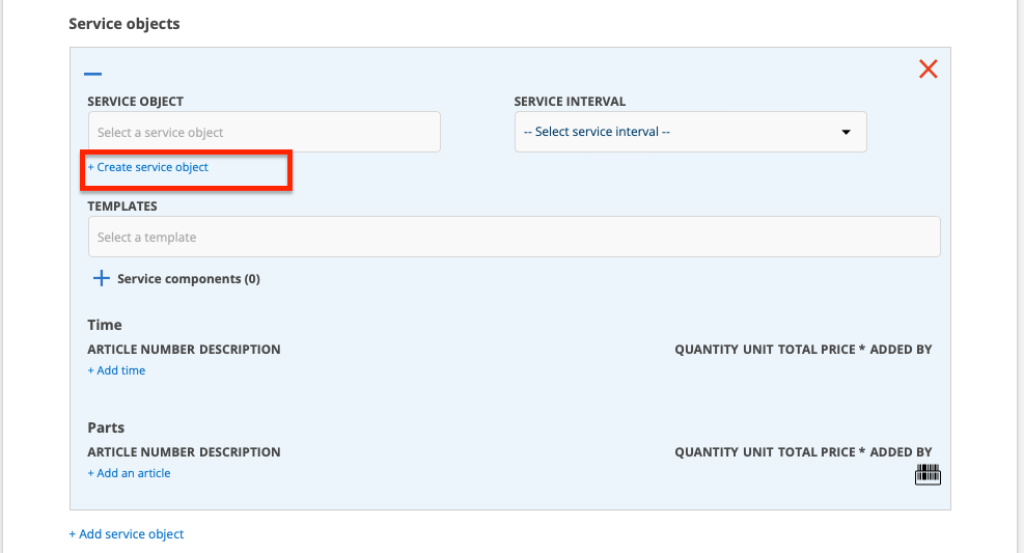
- Click on + Add service object.
- Click on + Create service objekt. (see image below)
- Enter information about the object.
- Click on Save.
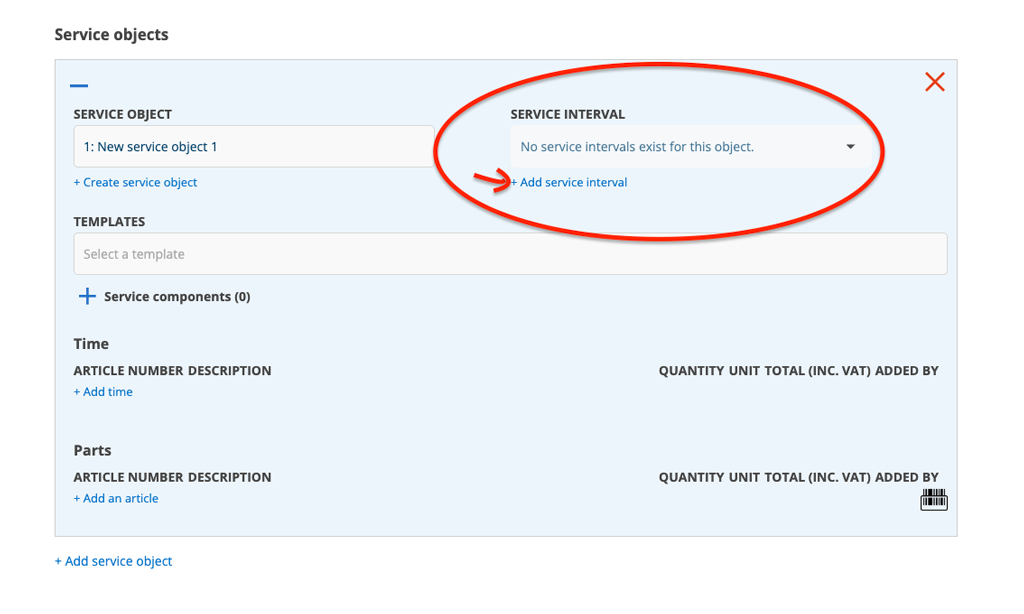
- Now the SERVICE INTERVAL field will say “No service intervals exists for this object”. Click + Add service interval. A field will open where you enter the number of days for the interval. The service interval name will be the number of days. (see image below)
- Select a template with service points.
- If the service object is to contain parts for the interval, fill these in.
- Click on Save
Change object?
Have you accidentally added the wrong object but all other information is correct?
Do this:
- Place the cursor in the field for the service object.
- To remove the object, click X.
- Then select an object. The system lists objects that are available at the customer/facility.
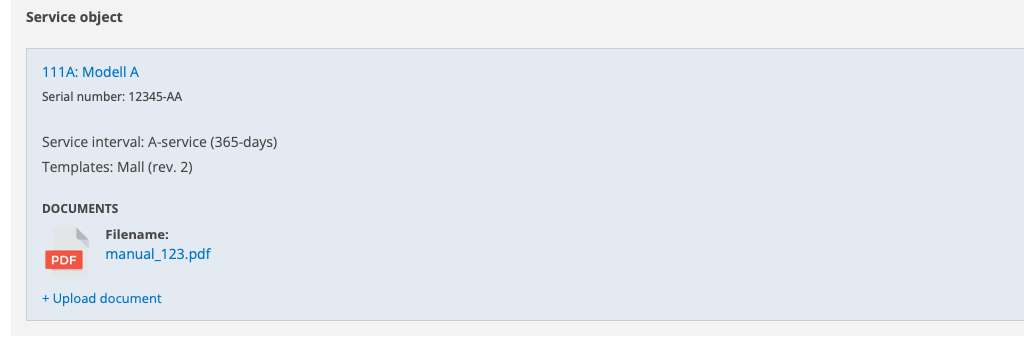
Files
Här kan du också se och ladda upp dokument och bilder kopplade till serviceobjektet. Filerna kommer automatiskt att läggas till även i serviceobjektets dokumentation i Serviceobjektsregistret.
Service template
For each service object, you can add service components and set the status for the points.
We recommend creating Service Templates with service points that recur frequently.
You create and edit templates under the Service – Service Template menu. Read more here.
Check also settings for service components in Service protocol settings.
Place the cursor in the TEMPLATES field and your service templates will be listed. Select a template.
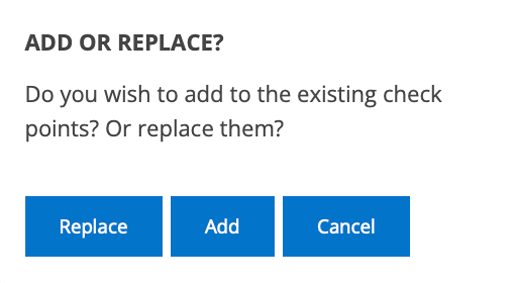
You can add service points from a template or replace existing service points from the object with those from the service template. The system asks which one before you can add the template.
Add – all service components are kept, the existing ones and the ones you have selected now.
Replace – the existing service components are removed and only the newly selected ones are kept.
Service components and their status
If you need to add a service point, click on +Add service component.
You can choose from these:
– Measurement
– Yes/No
– Has Status
– Header
– Free text
– Require image to be added to the point
What you choose determines how the service components appear in the protocol. Here is an example of service components with some explanations added:
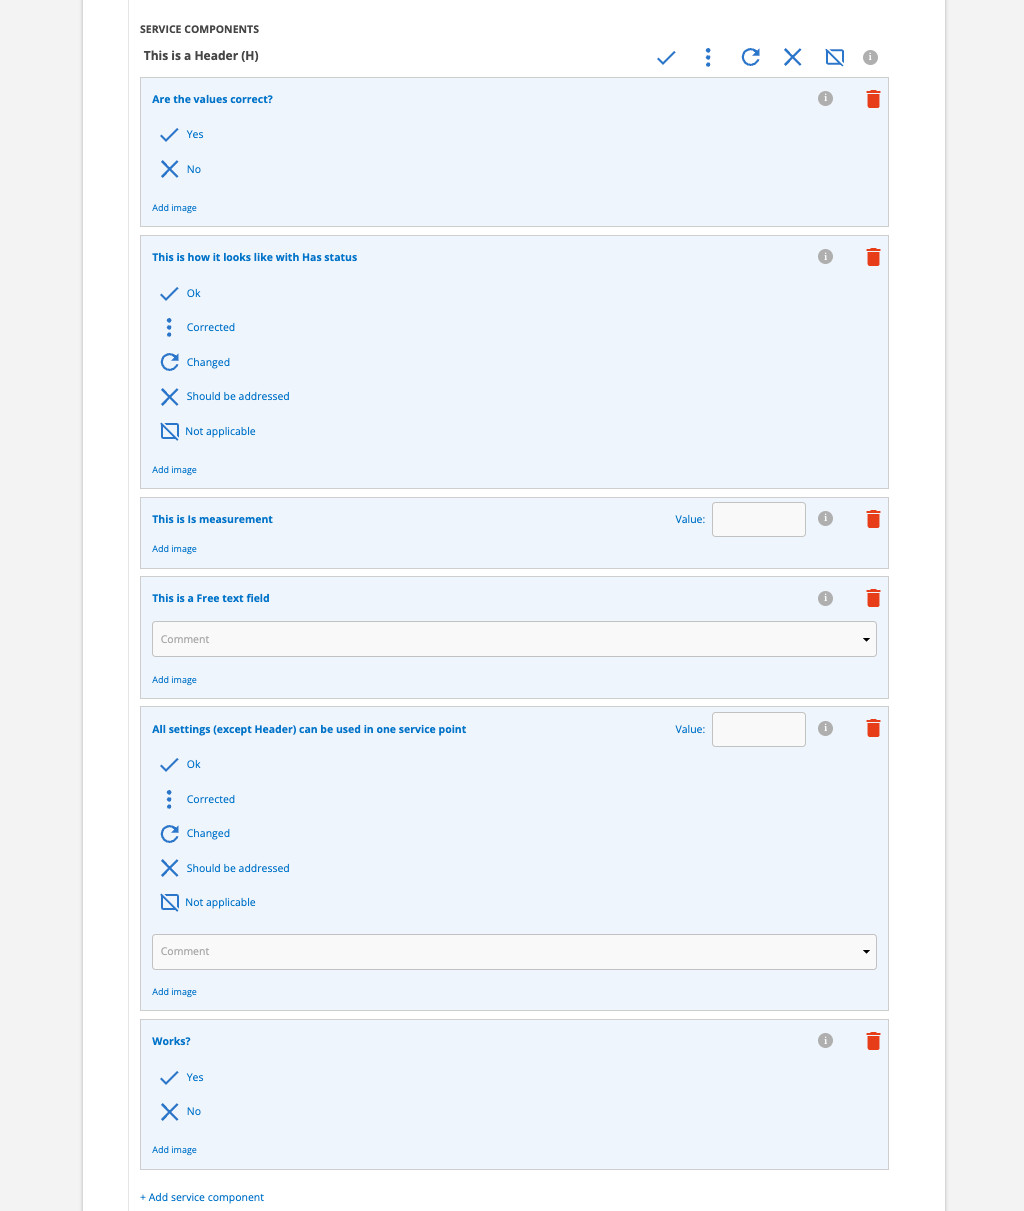
If you then select “Corrected” or “Should be addressed” for the service, a comment field will open where you can enter comments.
There is also a symbol for Not Applicable. If you select it, the service point will be closed, but you can always go back to it and it will remain for the next service.
You use the trash can to completely remove the service point. If you don’t see the trash can, you don’t have the permission to remove service components.
When you then perform the service order, by clicking Add Image you can take a photo or select a photo from your mobile or computer and upload it directly to the service component. The photo can be changed or removed.
All users have the permission to upload images here, so no permissions settings are required.
Comments
If there is a comment on the previous service order, it is automatically transferred and displayed here. This applies to both comments for service components and comments on the object.
Other material and Other time
Service order setting that provides a field for Other materials: Show Other articles
Article setting that provides a separate field for time: Separate time report articles
Here you add needs for other materials. You can search by article number, description and last used articles. Time only lists time articles.


If you use the Storage function and you have selected a main storage, the article will automatically be pulled from the main storage. If you do not want to take from the main storage, click on the “house” to select another storage where the article is located or no storage.
If you have selected a default storage and if the article is in that storage the article will automatically be drawn from your default storage and “the star” is shown. Click on “the star” if you want to take the article from another storage.

The barcode symbol indicates that you can use your mobile phone or scanner to add aarticles via barcode. If you use your mobile phone, you will need an app for barcode reading.
Which barcode formats can be read is set by the administrator. See more under Article settings. Selectable formats are: UPC, UPC-E, EAN, EAN-8, Code 128, Code 39
Handle bookings
Service order setting that affects: Update planned date when booking.
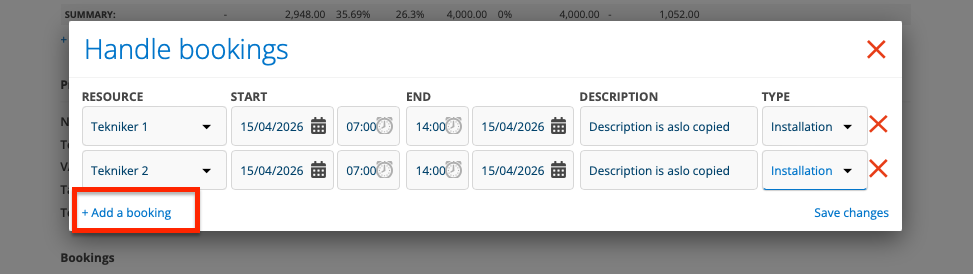
Click Handle bookings and then click +Add a booking.
Select who (resource) will perform the assignment and select a day and time. The resource’s working hours will be filled in automatically – if you have set these for the user’s User Settings.
If multiple resources are to be booked on the same order, click +Add a booking again. The first booking is copied. Select another resource. The times and all booking details are copied.
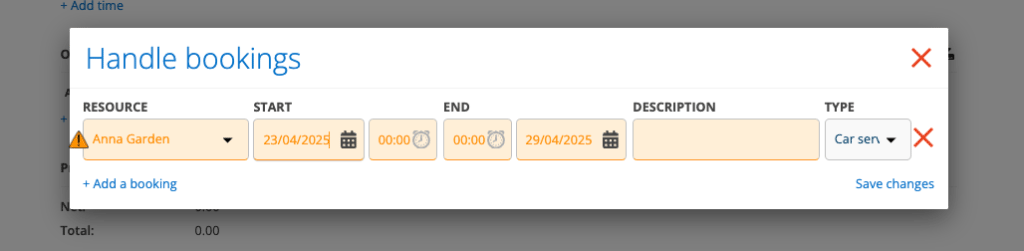
A warning triangle appears if you try to book a resource that is already booked on another order.
When you save a booking, you will be asked if you want to send a booking confirmation to the contact person for the order, the same applies when you change a booking. The date when the booking confirmation was sent is displayed in the order and if the booking was changed after the confirmation was sent.
The booking confirmation contains the name of the booked technician, the date and the order number. If the contact person for the order is a customer user, there is also a link to the order. If you have made changes to the booking, you can send a new booking confirmation by clicking Send booking confirmation. You can choose to send the confirmation as an email and/or text message.
If you want to create your own text in the booking confirmation, read more about it in the article Email/SMS.
Comment field
You can add comments to a service order. The comments can be changed or deleted, set to displayed to the customer or only internally. The comment is included in the service protocol.
Learn more about comments here.
Cost center
Fill in customer order number if any. If you have a cost center at the customer or facility, the cost center will be automatically retrieved from there.
Save
Click Save. The service order is created and given a serial number. Until the service has started, you can click Edit and fill in or delete information.
Once you have saved, you can:
- Assign the service order to a technician/resource.
- Perform service.
If a service has started, it says Continue at the bottom. At this point, you can no longer change the service order. However, if you delete the protocol, you can change and perform the service order again.
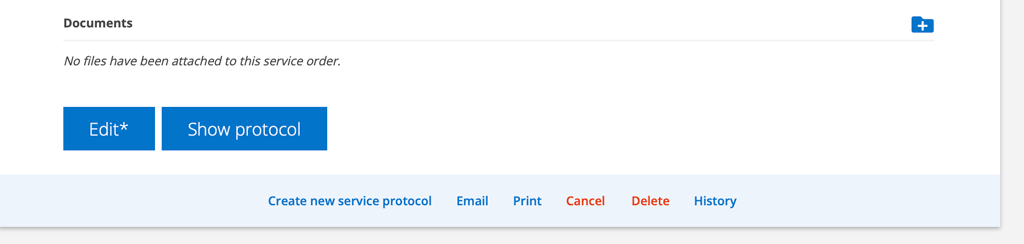
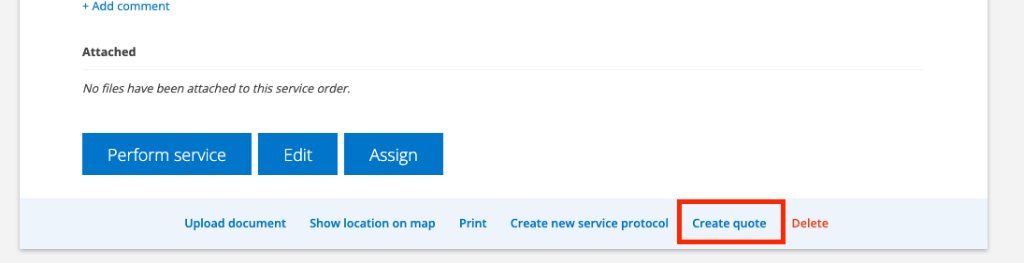
Create quote from service order
Once you have saved a service order, you can choose to create a quote. Click Create Quote at the bottom of the service order and a quote will be created with all the articles and objects on the service order.
If you change the price of articles or the content of the quote, you can update the service order by clicking Update generated orders at the bottom of the quote.
Upload documents
If you want to supplement the order with documents, select Upload document at the bottom of the page.
When you email a service order, you can choose which documents to include in the email.
Cancel
A popup will open where you enter the reason for the cancellation.
Canceling a service order automatically cancels all protocols associated with the order.
Delete Service order
It is possible to delete a service order as long as there is no protocol associated with the order. A service protocol is created as soon as you click Perform service.
Perform service – Create a Service protocol
Learn how in the article Create a Service protocol
Information to admins
There are a number of settings for service orders and permissions that can be made. Go to the Group Settings page (requires admin permission).
Modul settings under #serviceorderinställningar
- Email address for articles to be ordered, articles ordered and articles delivered. Here you enter the email address(es) of the person who will receive information about which articles to order. The email is sent automatically when an order is saved.
- Show custom info (about the service object in the service order.)
- Show service interval name (in the list of service orders on the customer record.)
- Show comment section from last service
- Show invoiced to (when invoiced to another customer)
- Show “other” articles
Note: you can also select this on Service protocol settings. - Update planned date when booking.
If you add a booking, the planned date changes to the booking date. - Show status
The default setting is that this is checked and that the Status options are displayed on the order. See image below. If you prefer to use Custom statuses entirely, you can uncheck this. - Auto-direct protocol.
With this setting, the protocol opens directly instead of the order when you click on an order. Applies when the order is Performed. The default is that the service order opens and you then scroll down the page and click the Show protocol button. - List setting: Sort on serial number as default
Custom status
Under Custom statuses you fill in the variants you use. The options are displayed when you create a service order and can also be changed on the saved order. If you only want to use this variant of status, you can uncheck the setting Show status.
Learn more about Custom status here.
Print settings
Remove prices from print
Print templates
Upload any number of your own templates for printing. Learn more about printing templates.. Learn more about print templates.
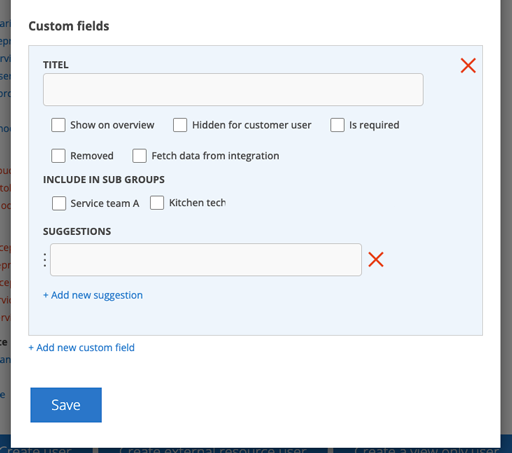
Create Custom fields
Create fields for your specific needs. Several settings can be made. Learn more about custom fields here.
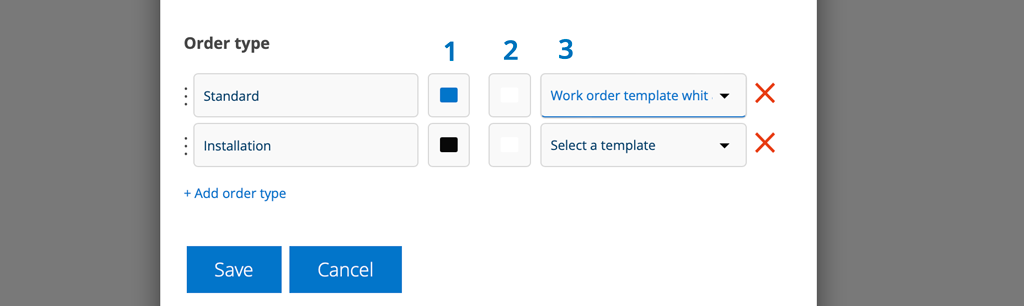
Create order types
Enter a name for the order type. Select the color of the field by clicking on the left “button” (number 1 in the image below). The color is shown as a dot after the type. Box two is the text color and does not need to be set.
You can control which of your own print templates will be used depending on the order type. Select a template under “Select a template”(3). This print template has priority over the print template you have chosen to “star”.
To search for order types, use the filter function.
Permissions for users affecting service orders
View, View assigned, Create, Edit, Edit assigned, Delete, Cancel, Assign, Assign to self, Perform service, Perform assigned service, Perform partial, Remove/edit uploaded file, See all custom statuses, Generate invoice