
What is a print template?
By creating your own document template (.docx) in Word, you can style your mailings exactly how you want them, with logos, backgrounds, footers, etc. and choose which information to include.
To create the template and include the information you want on the printout, use and select from the tags found in the links below.
The tags are written within curly brackets {} where you want articles in your document.
If you are missing a tag for the template you are about to create, let us know which tag you are missing.
Select template after clicking Email or Print
When you click on Email protocol or Print protocol on an order or report, a popup opens where you select a template for your mailing. You still have the option to select the default template the system creates. (This does NOT apply when you click on a self-check on a service report.)
A custom template can also be selected for certain collection functions such as Work Orders and Service Protocols.
Here you will find tags for creating templates
- Page with tags that can be used in all functions – address, person of contact etc.
- Page with tags for service object information
- Tags for QR-codes
- Tags for Work order and order confirmation for work order
- Tags for Timers
- Tags for Service protocol and Service order
- Tags for Self-check
- Tags for Quotation
- Tags for Sales order – incl. Order confirmation and Delivery note.
- Tags for Purchase order
- Tags for Weight measurements
Where to upload your template?
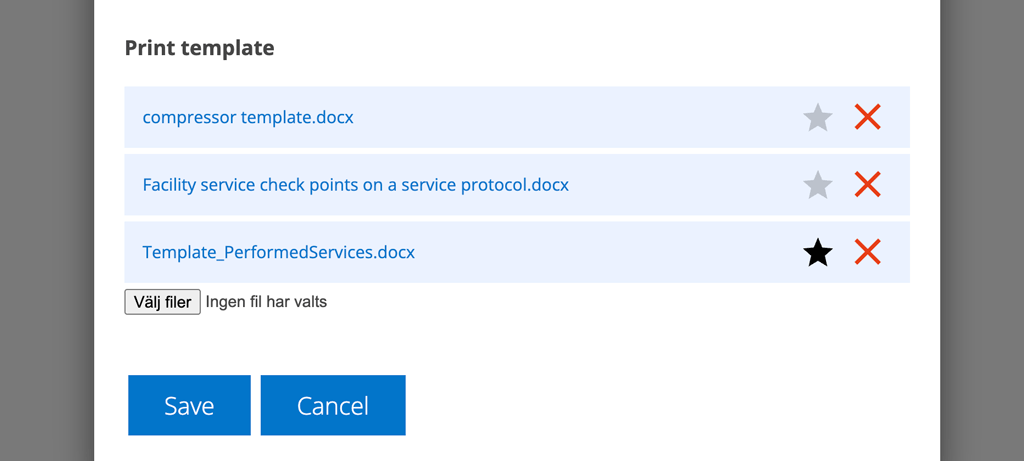
The print template is uploaded under Group Settings under the respective Module Settings. To upload your own .docx templates, admin permissions are required. You can upload multiple templates but only one at a time.
Self-checks are uploaded in the Work order settings
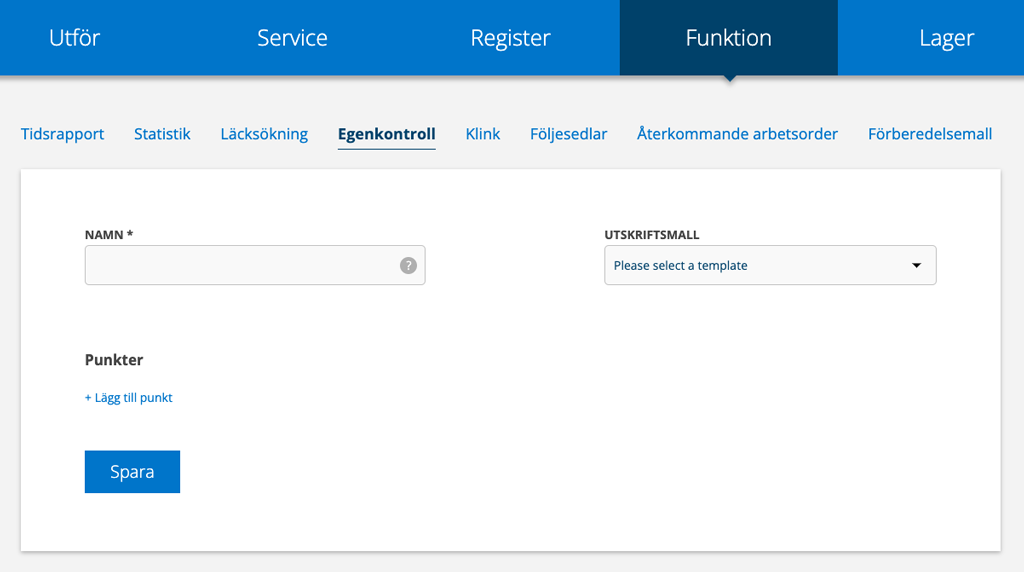
You select which print template to use for the printout for each self-check template under Function – Self-check.
Select a default template
By clicking the star to the right of a template in the settings, you specify which template should be displayed at the top of the popup. If you have not marked a print template with the star, it is always the default template, i.e. the one included in the system, that is displayed first and your own templates listed below in the drop-down list.
Print template linked to order type
You can link a print template to a specific order type. Then you choose from your already uploaded files.
Custom fields, counters and custom info template
In general, tags for custom fields, counters and custom information template are created by placing the name of the field within tags. It is important that the name is exactly as you named it, i.e. with capital letters, spaces, etc.
Example:
Name: My own field
Tag: {My own field}
Custom fields for customer, facility and service object can be added to printouts of protocols, quotes and sales orders in this way:
{FacilityMy custom field}
{CustomerMy custom field}
{ServiceobjectMy custom field}
{ServiceobjectCounter} (name of your counter)
{ServiceobjectMy info template} (name of your Info template)